Pack an Outdoor Yoga Setup Under 2.5 lb: Sustainable Mats 1–2.5 mm
For most outdoor practice, the right kit is small: a foldable natural rubber travel mat around 2 to 2.5 mm thick, a grippy microfiber towel, a cotton or recycled webbing strap, and a simple sling or bag to carry it all. If you’re allergic to latex, swap in TPE or cork. This combination stays under a couple of pounds, grips well on grass or a deck, and doesn’t turn packing into a chore.
TL;DR:
- Natural rubber mats offer the best grip and longevity outdoors but require UV protection and are incompatible with latex allergies; cork and TPE are good alternatives.
- A lightweight, foldable travel mat (1 to 2.5 mm thick and under 2.5 pounds) combined with a microfiber towel and webbing strap provides the essential, packable outdoor yoga kit.
- Using a grippy-backed microfiber towel and a basic 8 to 10 foot strap improves stability and ease of practice, especially on grass, dirt, or uneven terrain.
- Proper packing involves flat folding or rolling the mat, using a zip pouch for accessories, and avoiding textured bags to prevent debris collection.
- Maintaining gear with gentle cleaning, air-drying, and early replacement upon wear extends lifespan and ensures safe, comfortable outdoor sessions.
Table of Contents
- Building Your Outdoor Yoga Setup Item by Item
- Picking a Mat: Materials, Thickness, and Weight That Work Outdoors
- The Accessories That Actually Improve an Outdoor Practice
- How to Pack and Move Your Kit Without the Mess
- Keeping Your Gear Clean and Long-Lasting
- Adjusting Your Practice on a Thin Travel Mat
- Choosing Where to Practice Outside
- Setting Up on Grass, Sand, and Uneven Ground
- Adapting Your Poses to Outdoor Conditions
- Staying Safe: Bugs, Allergens, and Outdoor Hazards
- Dressing and Gearing Up by Season
- Why Portability Beats Everything Else Outdoors
- Get a Ready-Made Outdoor Kit From Yune Yoga
- Sources
Building Your Outdoor Yoga Setup Item by Item
An outdoor yoga setup only works if every item earns its spot in your bag. Add too much and you’ll stop bringing it. Skip the wrong thing and you’ll regret it three sun salutations into your sunrise yoga session.
Start with the mat format question: foldable or rollable? Foldable travel mats fold into a flat rectangle, which slides into a suitcase or backpack without eating up shape-specific space. Rollable travel mats feel closer to a studio mat underfoot and roll up the way you’re used to, but they need cylindrical storage space, which can be awkward on a bike ride or a short walk to the park.
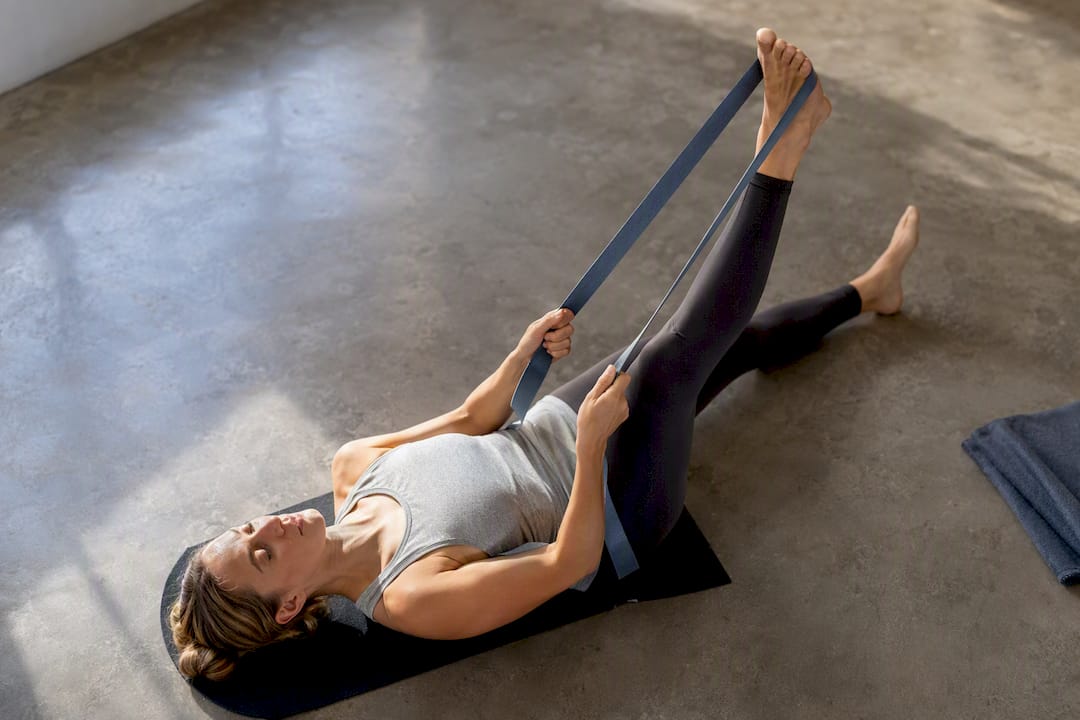
Your towel does double duty outdoors: it soaks up sweat and adds a layer of grip when grass, dirt, or dew makes the mat surface slicker than a studio floor. A strap earns its place differently, helping with alignment in binds and stretches, and also functioning as an improvised carry handle when your bag is already full.
Beyond those three, consider:
- A thin foam knee pad for kneeling poses on hard or rocky ground
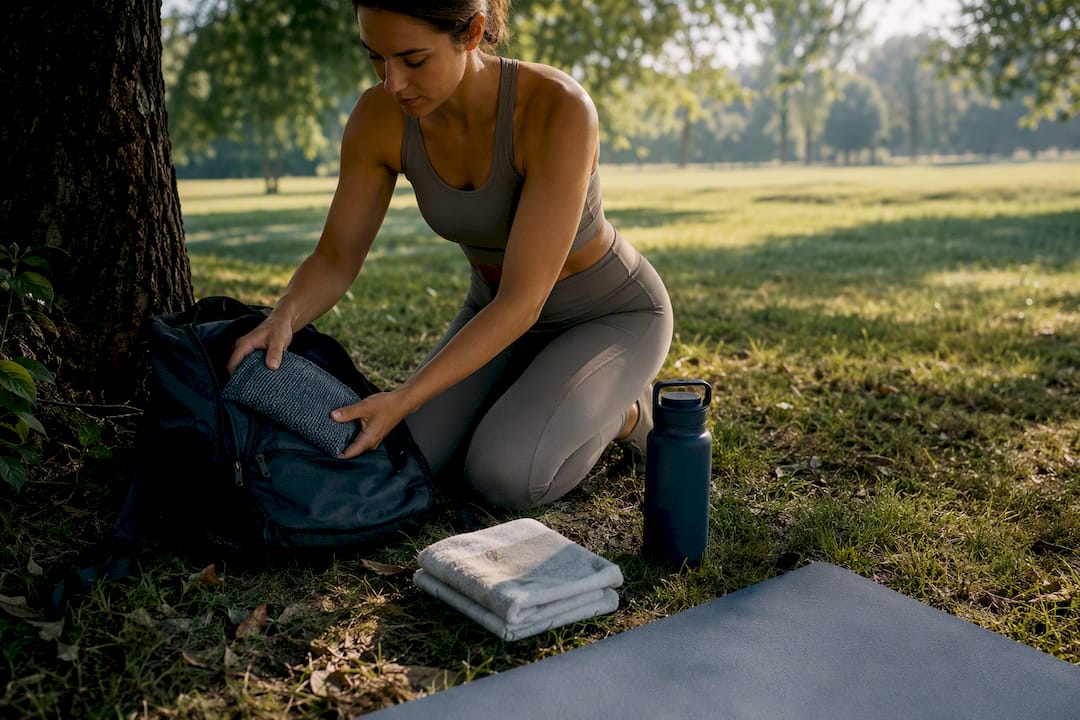
- A small dry pouch to separate a damp towel from dry clothes on the walk home
- A lightweight block if your practice includes seated or restorative poses
Skip anything bulky. A minimal, coordinated kit is what actually gets used outside, not the elaborate setup that stays in the closet.
Picking a Mat: Materials, Thickness, and Weight That Work Outdoors
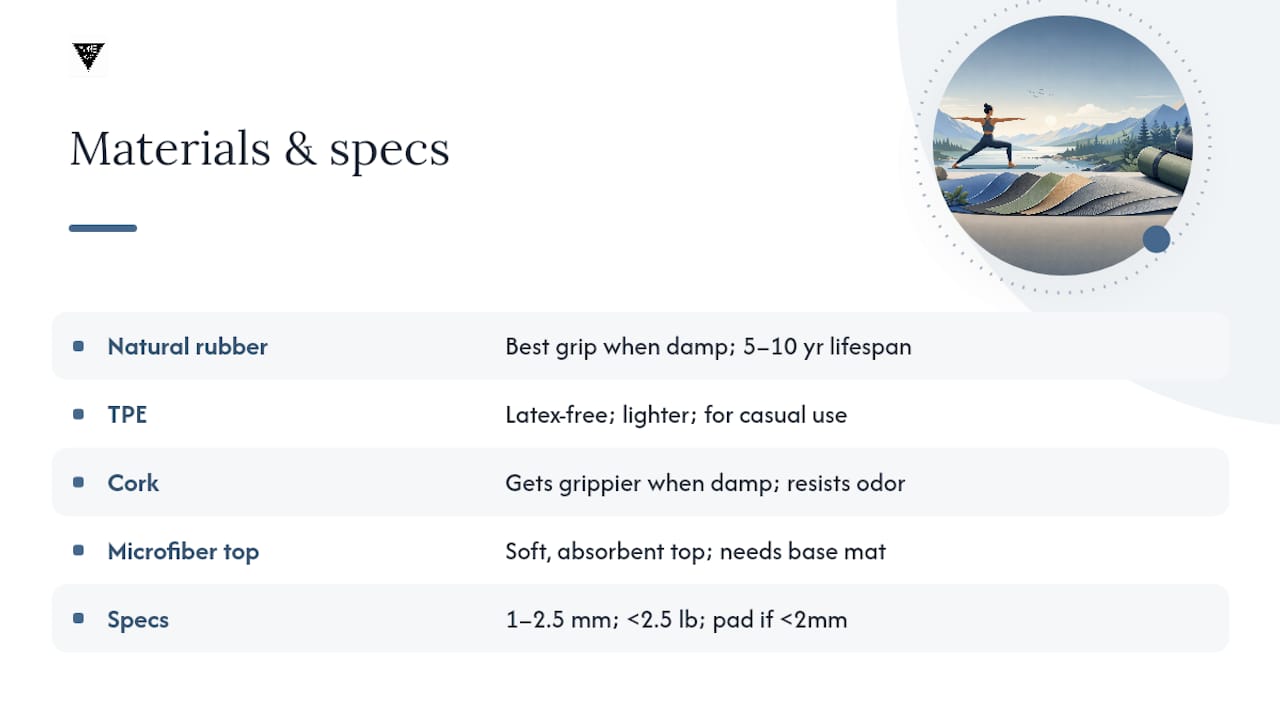
Material decides how your mat performs once it’s not on a flat studio floor anymore. Natural rubber remains the strongest all-around choice for outdoor practice. Its open-cell structure grips better as it picks up moisture from dew or sweat, and practitioners report 5 to 10 years of solid performance under regular use. The trade-off is real, though: natural rubber contains latex proteins, which can trigger allergies in some people, so anyone with a latex allergy needs to look elsewhere.
TPE is the practical substitute. It’s synthetic, but it’s latex-free, lighter than rubber, and holds up fine for casual outdoor sessions. Cork is the other strong outdoor pick, and for a different reason: it becomes grippier when damp rather than slicker, which makes it a natural fit for grass still wet with morning dew or a humid backyard yoga session. Cork also resists odor naturally, which matters more outside than in, given how much more your mat is exposed to sweat, sunscreen, and bug spray. Microfiber-topped mats offer a soft, absorbent surface that layers well over a base mat but rarely stand alone outdoors.
On numbers, aim for a mat between 1 and 2.5 mm thick and under 2.5 lb if you’re flying with it or walking any real distance. Testing from Condé Nast Traveler puts most travel mats in that weight and thickness range. If you want more cushion for kneeling poses, go toward the 2 to 2.5 mm end. Below 2 mm, buyer guides recommend supplemental padding for your knees, since the mat alone won’t cut it on packed dirt or gravel.
One more note on rubber: it needs UV protection, since direct sun over time breaks down the material. That’s a small price for the grip and lifespan you get in return.
The Accessories That Actually Improve an Outdoor Practice
A mat alone doesn’t make an outdoor yoga setup complete. The accessories around it decide whether the session feels smooth or like you’re fighting your own gear.
For a towel, look for microfiber with a grippy silicone or rubber backing. Cotton towels absorb sweat fine but slide around on grass or dirt; a grippy backing keeps it anchored to your mat instead of bunching under your palms mid pose.
For a strap, an 8 to 10 foot length in cotton or recycled webbing covers nearly every stretch and bind you’ll need, and it packs down to almost nothing. Avoid nylon straps with metal D rings if you’re minimizing weight. Plastic buckles shave off a few extra ounces.
Carrying options break down into three types:
- A mat sling or shoulder strap, best if you’re walking to a nearby park or backyard
- A dedicated mat bag, better for longer trips or if you’re also carrying a towel and strap inside it
- A suitcase pocket, which works fine for foldable mats on travel days
Whatever you choose, avoid mesh or open-weave carry bags near sandy or grassy areas. They trap debris in the seams and you’ll be shaking out sand for a week.
Pro Tip: Keep a spare microfiber towel folded flat in your bag at all times. It doubles as a seat cushion, a sweat towel, and knee padding, and it dries fast enough to reuse the same day.
How to Pack and Move Your Kit Without the Mess
Packing well is what separates people who actually practice outdoors regularly from people who own the gear and never use it.
- Foldable mats go flat against the largest surface in your luggage, ideally against the back panel of a backpack or the bottom of a suitcase, so they don’t crease awkwardly.
- Rollable mats slide into an exterior sleeve, a bike bottle cage mount, or a diagonal strap across a backpack. If you’re flying, check your carrier’s carry-on dimensions first. Domestic limits usually run around 22 by 14 by 9 inches, and a rolled mat can bump against that.
- Set a personal weight budget before you pack, something like 3 lb total for mat, towel, and strap combined, and treat anything heavier as a sign to swap materials.
- Use a zip pouch for your towel separate from dry clothes, and a luggage strap to lash a rolled mat to the outside of a bag when your hands need to stay free.
Skip mats or bags with textured exteriors when you’re headed somewhere sandy. Smooth surfaces shake clean; textured ones hold grit in every groove.
Keeping Your Gear Clean and Long-Lasting
Outdoor practice is harder on gear than a studio floor ever will be. Dirt, sweat, sunscreen, and moisture all shorten a mat’s life if you ignore basic care.
For cleaning, a simple water and mild soap solution works for almost every mat surface. Skip alcohol-based sprays and oil-based cleaners on natural rubber specifically. Both break down the material faster than normal wear would. A homemade cleaner with diluted castile soap is gentler and works just as well.
After cleaning or a sweaty session, air-dry the mat fully before rolling or folding it. Rolling a damp mat traps moisture inside, which leads to mildew and a smell you won’t get rid of easily. Keep it out of direct, prolonged sun during drying, since UV exposure is the fastest way to age rubber prematurely.
Retire a mat once you notice:
- Visible cracking or flaking on the surface
- A grip that’s noticeably worse than when it was new, even after cleaning
- Layers separating or peeling apart (delamination)
Adjusting Your Practice on a Thin Travel Mat
A 1 to 2 mm travel mat won’t cushion joints the way a 5 mm studio mat does, so a few small adjustments go a long way. Fold your towel in quarters and slide it under your knees for any kneeling pose, tabletop through low lunges included. For wrist-heavy poses like downward dog or plank, double over the front edge of the mat itself for a bit more padding under your palms.
On alignment, favor poses with more surface contact and less point-loading. A wide-legged forward fold puts less strain on wrists than a full vinyasa flow packed with chaturangas. If your kit includes a small foam block or knee pad, this is exactly where it pays for itself, adding just enough cushion without adding real weight to your bag.
Choosing Where to Practice Outside
The right outdoor yoga spots share three traits: a level surface, some shade, and shelter from wind. Grass tends to beat dirt or gravel for comfort, though it comes with its own dew and bug considerations covered further down.
Shade matters more than most people plan for. Direct sun for a full hour-long practice, especially during a midday session, raises your body temperature fast and can make balance poses harder simply because you’re squinting and sweating more than usual. A tree line, a pergola, or even a patch of morning shade before the sun climbs higher all extend how long you can comfortably practice.
Check the weather beyond just “is it raining.” Wind is the quiet disruptor of outdoor practice: it flaps loose clothing, tips over props, and makes anything balance-based (tree pose, half-moon, warrior three) genuinely harder. A partially sheltered spot, like near a low wall or a cluster of shrubs, cuts wind without blocking airflow entirely.
Ground firmness matters as much as ground softness. A slight slope is fine for most flows but murder for balance work. Scan for below-surface hazards too: roots, rocks, or sprinkler heads hidden under grass have ended more than a few otherwise peaceful sunrise yoga sessions with a twisted ankle. A quick barefoot walk over your intended spot before you unroll the mat catches most of these in seconds.
Setting Up on Grass, Sand, and Uneven Ground
Grass is the most forgiving surface for an outdoor yoga setup, but it’s rarely perfectly flat. Walk the area first, and orient your mat along the slope’s grain rather than across it, so poses that require a level base (like tree pose or crow) don’t tip you sideways before you even start.
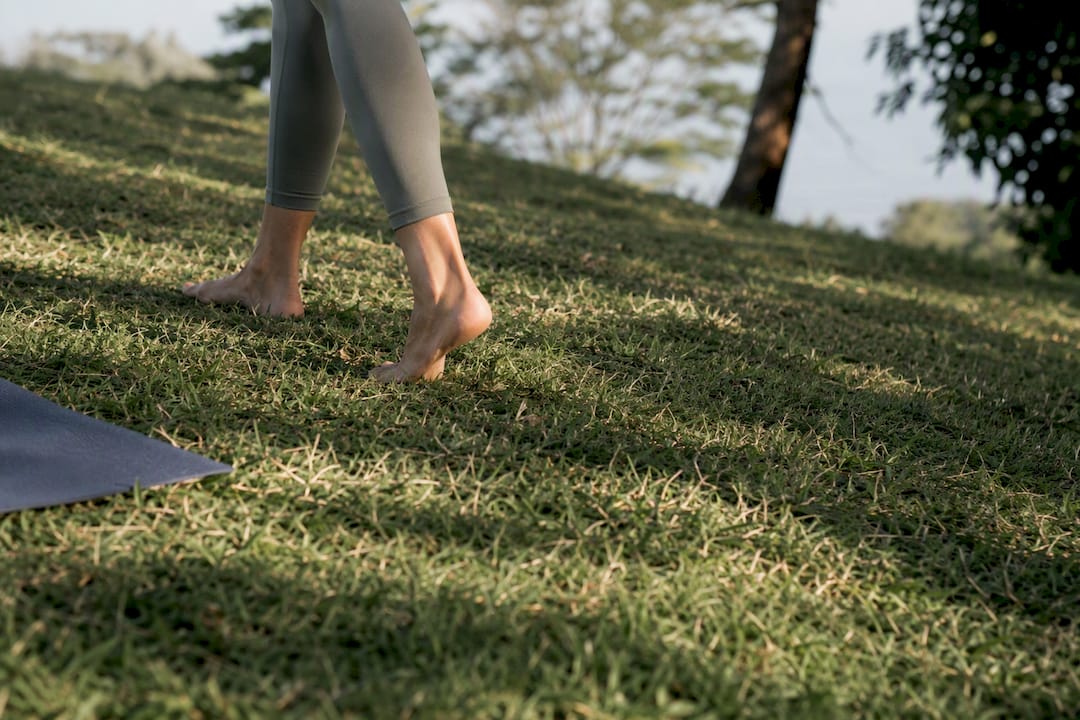
Sand changes the entire equation. A standard mat will bunch, slide, and collect sand in every texture groove. If you’re set on sand, lay a flat beach blanket or tarp underneath your mat first to create a barrier, and expect a longer cleanup afterward. Thin travel mats with smooth, non-textured undersides shake clean far more easily than ones with deep grip patterns.
Uneven or rocky ground calls for a thicker mat or a layered setup. This is where a foldable mat rated 2.5 mm or higher earns its slightly higher weight, since it smooths out small bumps a thinner mat would transfer straight to your knees and spine. If your only mat is under 2 mm, stack it over a folded blanket or picnic mat for kneeling-heavy sequences.
Whatever the terrain, test balance poses before committing to a full flow. A quick tree pose reveals uneven footing in seconds, well before you’re deep into a sequence and stuck adjusting mid-pose.
Adapting Your Poses to Outdoor Conditions
Outdoor surfaces don’t behave like a studio floor, so a few pose swaps make the difference between a frustrating session and a good one. On grass or uneven ground, favor wide-base poses like warrior two and extended side angle over single-point balances early in your sequence. They’re more forgiving of small surface irregularities and warm up your stability before you attempt anything harder.
Sun exposure changes your pacing, too. In direct light, slow the transitions between poses and add extra breath cycles in stillness rather than flowing quickly, since heat raises your heart rate faster than it would indoors. Wind calls for lower, grounded poses: a low lunge or a seated twist holds steadier than a standing balance when a gust catches you off guard.
Hard or rocky ground changes what “neutral” alignment feels like. Bend your knees slightly more than usual in forward folds to protect your lower back when the ground doesn’t give the way a cushioned studio floor would. And if your travel mat is on the thinner side, shift weight-bearing poses toward your palms and forearms rather than your knees and wrists wherever the sequence allows it.
Staying Safe: Bugs, Allergens, and Outdoor Hazards
Outdoor practice comes with risks a studio never has, and most of them are manageable with a little planning. Insects are the most common annoyance: mosquitoes and ants gravitate toward exposed skin and any food or sweet drinks left near your mat. A natural, DEET-free repellent applied before you start beats swatting mid-pose.
Grass and pollen carry their own allergen load, especially in spring and early summer. If seasonal allergies flare outdoors, a quick antihistamine beforehand and a location slightly upwind of blooming plants both help more than people expect.
Ground-level hazards deserve real attention: broken glass, sharp twigs, uneven roots, and the occasional stray sprinkler head can all hide under grass that looks perfectly smooth. A short barefoot walk over your intended spot, mentioned earlier for terrain assessment, doubles as a hazard check.
Sun exposure is a safety issue as much as a comfort one. Sunscreen applied before you start, reapplied on longer sessions, and a hat during any pose that keeps your face skyward (think fish pose or camel) all reduce the risk of burn on exposed skin. If you’re practicing near water or on a dock, footing matters more than usual since wet surfaces get slick fast, so favor grounded poses over anything requiring a quick single-leg balance.
Dressing and Gearing Up by Season
Outdoor yoga clothing needs change more with the seasons than indoor practice ever does, since you’re dealing with real weather instead of a climate-controlled room.
In warmer months, moisture-wicking fabrics beat cotton for anything active, since cotton holds sweat and gets heavy fast. Lightweight, breathable layers work better than one thick piece, since you can shed a layer as your body warms up through the sequence. Bring extra water regardless of session length, since outdoor heat dehydrates faster than most people plan for.
Cooler seasons call for layering strategy rather than one heavy jacket. A base layer that wicks moisture, a light insulating layer, and a windproof outer shell you can remove mid-session covers most temperature swings. Fingerless gloves help if you’re practicing early enough that dew or frost makes the ground genuinely cold underfoot, since a thin travel mat won’t insulate against that the way a thick studio mat might.
Footwear matters more than people assume, even though you’re barefoot on the mat itself. Slip-on shoes or sandals make the walk to and from your spot easier, especially across grass, gravel, or a dew-covered lawn, and they keep your feet clean before you even unroll the mat.
Why Portability Beats Everything Else Outdoors
Most advice about outdoor practice focuses on the pose, the sunrise, the mood. What actually determines whether you keep doing it is friction: how annoying the setup and cleanup are. A coordinated kit that reduces that friction genuinely changes how often people practice outside, not because the gear itself is magic, but because a two-minute setup gets used far more than a fifteen-minute one.
The conventional wisdom pushes practitioners toward thicker, more cushioned mats for “better” outdoor comfort. In practice, that advice backfires for anyone actually trying to build a habit. A heavier mat sits in the closet. A light, foldable one sits by the door, and that’s the difference that matters.
I’d also push back on treating natural rubber as the automatic default. It’s an excellent material for people without latex sensitivities, and Yuneyoga’s own blog content on rubber mat care reflects years of practitioner feedback on longevity and grip. But cork and TPE aren’t compromises. They’re the correct choice for a specific set of practitioners, and treating them as a fallback undersells what they actually do well outdoors.
— Nicholas
Get a Ready-Made Outdoor Kit From Yune Yoga
Yune Yoga’s curated bundles solve the exact assembly problem this guide just walked through: matching mat material, thickness, and accessories takes research, and most people would rather skip that step. A Yune Yoga foldable travel mat paired with a matching towel and strap lands squarely in the weight and thickness range this guide recommends, without you having to cross-check specs across five different product pages.
Buying the pieces separately still works fine if you already own a towel or strap you like. But a bundle skips the guesswork on whether your mat, towel, and strap actually complement each other in grip and size. Browse the current mat and accessory bundles and pick the combination that matches your outdoor plans, whether that’s weekend park sessions or a full outdoor yoga retreat.
Sources
- The Best Travel Yoga Mats, Tested by Our Editors | Condé Nast Traveler
- 5 best eco-friendly yoga mats of 2026 | One Green Planet
- Yogalith
- The best travel yoga mats | Travel + Leisure