Yoga Mobility Workout Plan: Build Strength and Flexibility
A yoga mobility workout plan is a structured, progressive practice that builds your body’s active range of motion, joint control, and injury resilience through targeted poses and mindful movement. Mobility is not the same as flexibility. Mobility is defined as the ability to move purposefully through your full range of motion without pain, requiring neuromuscular coordination, not just loose muscles. Yoga is the original mobility practice because it demands active muscle engagement to control ranges of motion rather than passive stretching. This article gives you a practical weekly plan, the science behind why it works, and the tools to sustain real progress.
What is mobility yoga practice, and how does it differ from flexibility?
Mobility and flexibility are related but not the same thing. Flexibility is passive muscle length. You can be flexible and still lack the strength or control to use that range in real movement. Mobility requires active neuromuscular coordination, meaning your brain and muscles must work together to control the joint through its full range.
Strength is the third piece. Without strength through the range, flexibility becomes a liability rather than an asset. A hypermobile athlete who cannot stabilize a joint under load is at higher injury risk than a less flexible athlete with strong joint control. This is why mobility yoga prioritizes controlled, muscle-engaged movement over passive sinking into poses.

The nervous system is the gatekeeper of mobility. If movement feels unsafe to the brain, protective muscle guarding kicks in and limits your range. Breath-led, slow, consistent movement signals safety to the nervous system and allows genuine range access. This is the core reason why rushing through poses or forcing depth does not produce lasting gains.
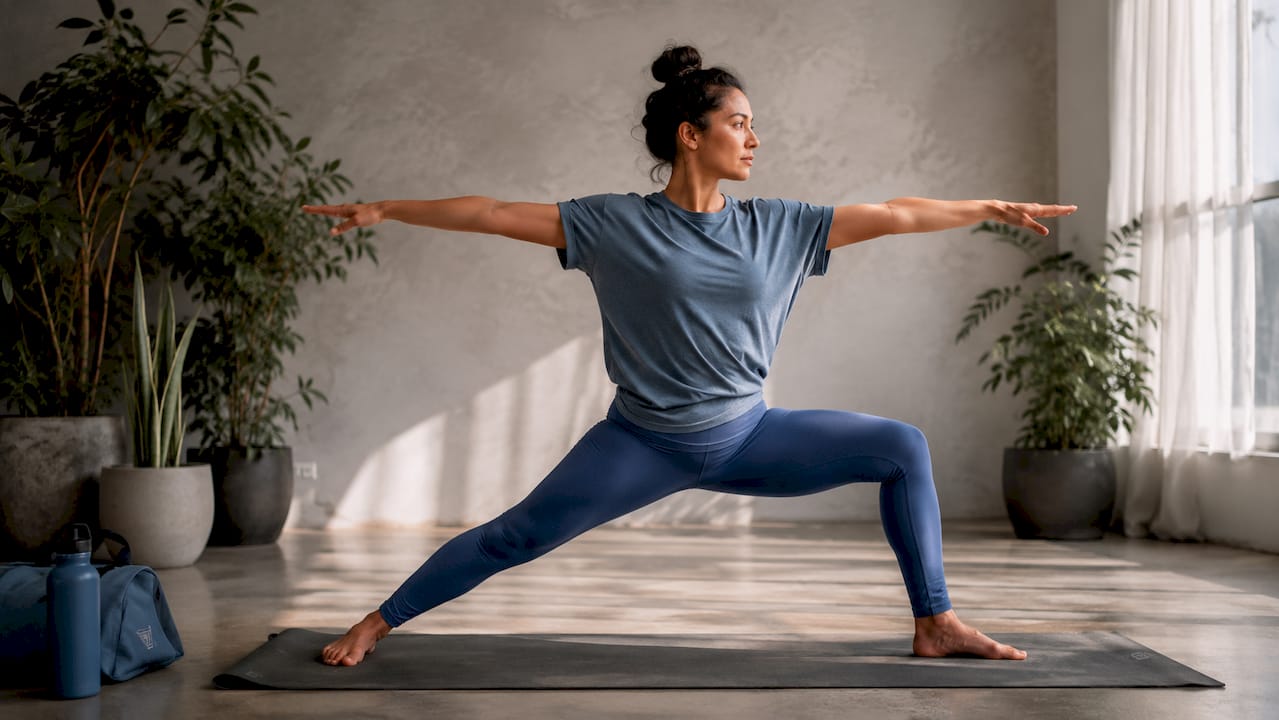
Yoga addresses all three components simultaneously. A Warrior II hold builds hip mobility while requiring active engagement from the glutes, adductors, and core. A thread-the-needle stretch for thoracic rotation demands shoulder stability alongside spinal range. That combination is what separates a mobility yoga routine from a simple stretching session.
Essential tools and preparations for your mobility yoga routine
A well-prepared practice space and a short warm-up make the difference between progress and injury. You do not need much equipment, but what you use matters.
Minimum equipment for a safe practice:
- A non-slip yoga mat with enough cushion for joint-heavy poses like low lunges and kneeling hip openers
- Yoga straps to extend your reach without compromising alignment. Yoga straps are especially useful for hamstring and shoulder mobility work
- Two yoga blocks to support hips in seated poses and reduce strain in standing balances
- A timer to track hold durations accurately
Warm-up movements to prime your joints (5–10 minutes):
- Cat-cow cycles: 10 slow repetitions to mobilize the spine
- Wrist circles and wrist flexion/extension: 10 reps each direction
- Hip circles in tabletop: 8 reps each side
- Ankle rolls: 10 reps each direction
- Neck half-circles: slow, controlled, 5 reps each side
Warming up joints for 5–10 minutes before deep stretching primes tissues and reduces injury risk. Cold joints stretched intensively are a primary cause of soft tissue damage in yoga practice.
Breath awareness is not optional. A 5-minute breathing practice at the start or end of a session anchors focus and modulates nervous system activity for better motor learning. Set up a dedicated, distraction-free space so you can actually use that breath practice without interruption.
Pro Tip: Set your timer for each pose before you begin the session. Watching a clock mid-pose pulls your attention away from breath and sensation, which are the two inputs that actually drive nervous system adaptation.
What does a weekly yoga mobility workout plan look like?
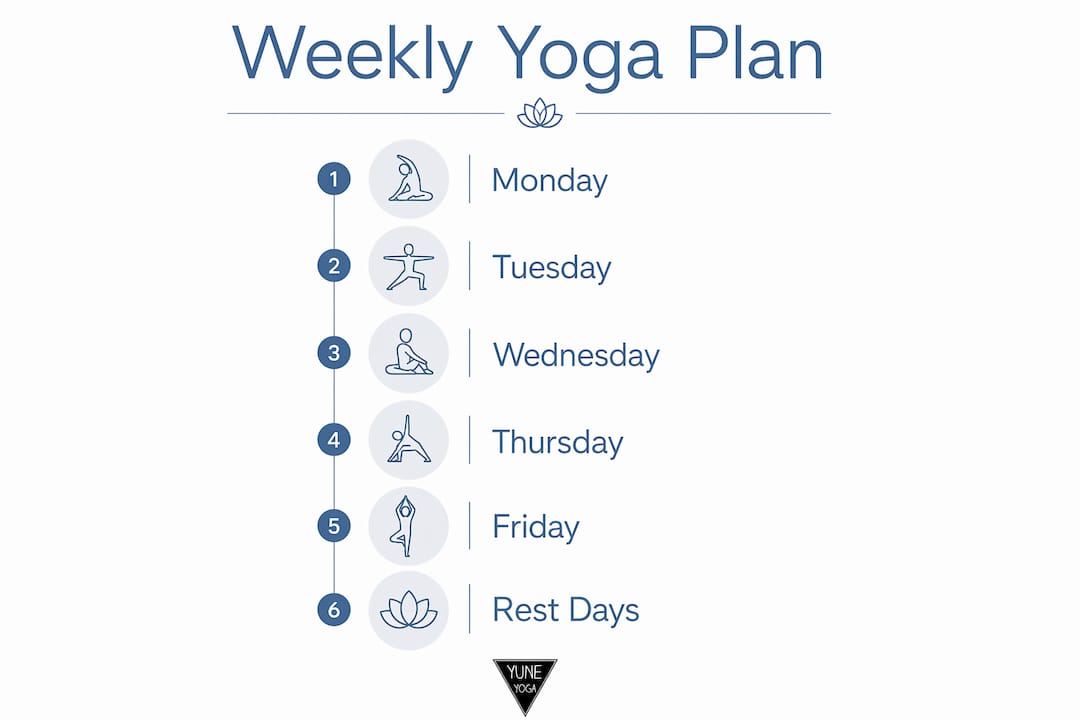
A five-day plan with two recovery days gives your nervous system and connective tissue time to consolidate gains. Consistency at 3–4 sessions per week produces more lasting range of motion gains than infrequent, intense sessions. The plan below follows that principle.
Optimal pose hold times range from 60–90 seconds for foundational poses and up to 3–5 minutes for deeper hip or adductor stretches. Shorter holds build awareness and warmth. Longer holds create tissue adaptation.
| Day | Focus area | Session duration | Key poses |
|---|---|---|---|
| Monday | Hips and adductors | 40 minutes | Low lunge, lizard, butterfly, pigeon prep |
| Tuesday | Shoulders and thoracic spine | 35 minutes | Thread the needle, eagle arms, doorframe stretch, cat-cow |
| Wednesday | Active recovery | 20 minutes | Gentle supine twists, child’s pose, diaphragmatic breathing |
| Thursday | Hamstrings and spine | 40 minutes | Standing forward fold, seated forward bend, supine hamstring stretch |
| Friday | Full-body integration | 45 minutes | Sun salutations, warrior sequence, seated hip openers |
| Saturday | Rest or light walk | — | No structured yoga |
| Sunday | Rest | — | No structured yoga |
Progress the plan using a 4-week cycle. Spend three weeks building intensity and hold duration, then take one lighter recovery week. A 4-week cycle of three progressive weeks followed by a lighter recovery week consolidates gains and prevents plateaus. The recovery week is not a break from practice. It is where adaptation happens.
For hip and adductor sessions, start with 60-second holds in week one and add 15 seconds per week. By week three, you hold pigeon prep for 2.5 minutes per side. In the recovery week, drop back to 60 seconds and focus on breath quality over depth.
Pro Tip: Track your hold times and perceived effort in a simple notebook. Mobility progress is slow and easy to miss without a record. Seeing week-over-week improvements in your notes keeps motivation high during plateaus.
What mistakes should you avoid in a yoga mobility routine?
The most common errors in mobility practice are also the most damaging. Identifying them early protects your joints and keeps your progress on track.
Frequent mistakes and how to fix them:
- Stretching cold joints. Jumping into deep hip openers without a warm-up compresses cartilage and strains ligaments. Always complete your joint mobilization sequence first.
- Holding your breath. Breath-holding triggers a stress response that causes protective muscle guarding. If you cannot breathe calmly in a pose, reduce the depth.
- Chasing depth over control. Sinking passively into a pose without muscular engagement is flexibility training, not mobility training. Actively press the floor away, engage the glutes, and maintain spinal length.
- Skipping recovery weeks. Continuous intensity without a deload week leads to overuse inflammation and stalled progress. The recovery week is non-negotiable.
- Ignoring sharp or pinching sensations. A dull, spreading sensation is normal tissue stretch. A sharp, pinching, or joint-specific pain is a signal to back off immediately.
Overstretching and breath-holding cause injury and impede progress. Moderate intensity with calm, breath-led movement achieves better tissue adaptation than aggressive holds.
“If you feel a sharp, pinching sensation in a joint during a yoga pose, that is your nervous system signaling potential damage. Reduce your range, engage the surrounding muscles, and breathe slowly. Forcing through joint pain does not build mobility. It builds scar tissue.”
Use blocks under your hips in seated poses when your pelvis tilts backward under load. Use a strap in supine hamstring stretches when you cannot maintain a neutral spine. Modifications are not signs of weakness. They are the mechanism through which safe mobility gains actually occur.
How does yoga for joint mobility support athletic performance?
Mobility yoga and athletic training are not separate pursuits. They reinforce each other directly. Mobility yoga integrated with strength and endurance training produces better injury resilience and athletic performance than either approach alone.
Key performance benefits of a structured mobility practice:
- Improved movement efficiency in sport-specific patterns like squatting, running, and throwing
- Reduced compensation patterns that lead to overuse injuries in the knee, hip, and shoulder
- Better neuromuscular control through the full range of motion, which directly transfers to strength training performance
- Faster recovery between training sessions through improved circulation and reduced muscle tension
Movement screens like single-leg squats, overhead reaches, and hip rotation tests give you objective feedback on your mobility. Run a basic screen every four weeks to identify which areas are lagging and adjust your weekly focus accordingly.
Breath-led movement also enhances neuromuscular control for athletes. Breath awareness improves nervous system relaxation and allows better range access during high-demand training. Athletes who add a mobility yoga session on recovery days report less soreness and better readiness for subsequent training blocks.
For practitioners recovering from injury, a structured mobility plan is a direct therapeutic tool. Yoga-based mobility for injury rehabilitation addresses the root cause of many overuse injuries: restricted range of motion combined with poor neuromuscular control at end range.
Key Takeaways
A structured yoga mobility workout plan builds active joint control, not just passive flexibility, and consistent short sessions outperform infrequent intense ones every time.
| Point | Details |
|---|---|
| Mobility vs. flexibility | Mobility requires active neuromuscular control; flexibility alone does not prevent injury. |
| Warm up before stretching | Five to ten minutes of joint mobilizations reduces injury risk and improves tissue response. |
| Hold times matter | Use 60–90 seconds for foundational poses and up to 3–5 minutes for deep hip work. |
| Consistency beats intensity | Three to four sessions per week produces more lasting gains than occasional long sessions. |
| Recovery weeks are required | A lighter week every fourth week consolidates adaptation and prevents plateaus. |
What I’ve learned from years of watching people practice mobility yoga
Most people approach mobility practice the same way they approach a gym workout: more effort equals more results. That logic fails completely in mobility training. The nervous system does not respond to force. It responds to safety signals, and the primary safety signal is a calm, steady breath.
I have watched practitioners with genuinely impressive flexibility make zero functional mobility gains for months because they were passive in their poses. They sank into pigeon and scrolled their phones. They stretched their hamstrings without engaging their quads. They were flexible. They were not mobile.
The practitioners who progress fastest are the ones who treat every pose as a strength exercise. They press the floor away in low lunge. They actively rotate the thoracic spine in thread the needle rather than letting gravity do the work. That muscular engagement is what trains the nervous system to trust the new range.
Patience is not a soft skill in this practice. It is the mechanism. Connective tissue adapts slowly. Nervous system patterns change slowly. A practitioner who shows up four times a week for twelve weeks with moderate intensity will outperform someone who trains aggressively for three weeks and then stops due to soreness or discouragement.
Schedule your sessions the same way you schedule strength training. Put them in your calendar. Treat the recovery week as a feature, not a failure. And pay attention to the meditation and mindfulness dimension of your practice. The mental focus you build in a mobility session transfers directly to athletic performance and daily movement quality.
— Nicholas
The right gear makes your mobility practice safer and more effective
A quality yoga mat is the foundation of every session in this plan. Slipping in a low lunge or losing grip during a hip opener breaks concentration and risks injury. Yuneyoga’s natural rubber mats provide the traction and cushion that joint-heavy mobility work demands.
Yuneyoga also carries yoga straps and blocks that make modifications accessible for every level. Whether you are working through tight hamstrings in week one or deepening a shoulder stretch in week four, the right props let you train at the correct intensity without compromising alignment. Browse Yuneyoga’s full collection to find the tools that match your practice.
FAQ
What is a yoga mobility workout plan?
A yoga mobility workout plan is a structured weekly program using targeted yoga poses to build active, controlled joint range of motion. It combines dynamic warm-ups, timed holds, and breath-led movement to improve flexibility, strength, and injury resilience.
How often should I practice mobility yoga?
Three to four sessions per week produces the most consistent range of motion gains. Daily practice is possible if session intensity is varied and at least one day focuses on gentle recovery work.
How long should I hold yoga poses for mobility?
Hold foundational poses for 60–90 seconds and deeper hip or adductor stretches for up to 3–5 minutes. Shorter holds build warmth and awareness; longer holds drive tissue adaptation.
Can beginners follow a yoga mobility workout plan?
Beginners can follow this plan by using blocks and straps to reduce range demands and starting with 60-second holds. The key is maintaining breath control and muscular engagement rather than chasing depth.
Does yoga mobility training help with athletic performance?
Mobility yoga integrated with strength training improves movement efficiency, reduces compensation patterns, and lowers injury risk. Athletes who add mobility sessions on recovery days report better readiness for subsequent training.


