Deepen Backbends Safely: A Progressive Yoga Plan
The safest way to deepen backbends is to lengthen the front body, open the thoracic spine, and stabilize your sacrum with deep core engagement instead of tucking your tailbone or forcing your low back to close the gap. That single shift changes how the whole pose feels.
- Warm up your joints and spine for 5 to 10 minutes before any deep work.
- Prep your hip flexors first, then move into shoulder and chest opening exercises.
- Mobilize your thoracic spine with passive holds before active lifting movements.
- Activate your deep core muscles before you set up bridge or wheel poses.
- Build repetitions gradually rather than aiming for one maximal hold.
Safety rule: if you feel sharp or radiating pain, or a crunching sensation in your low back, come out immediately and regress to a supported variation.
Key Takeaways
Safely deepening backbends depends on lengthening the front body, mobilizing the thoracic spine, and stabilizing the sacrum through deep core engagement rather than tailbone tucking.
| Point | Details |
|---|---|
| Prep hips before shoulders | Tight hip flexors block thoracic extension, so target them first in every warm-up. |
| Widen your wheel setup | Moving hands and feet farther apart reduces lumbar compression and adds extension space. |
| Engage core, not tailbone | Use transverse abdominals and mula bandha to stabilize your sacrum instead of forcing a posterior tilt. |
| Cap consecutive attempts | Limit advanced backbends to about three in a row and favor shorter repeated holds. |
| Use props to progress safely | Yuneyoga’s mats, straps, and bolsters support staged prep work like supported bridge and shoulder-opening drills. |
Table of Contents
- Why Mobility and Strength Together Create Safe Backbend Depth
- Your Warm-Up Checklist Before Backbends
- Targeted Prep for Hips, Chest, Shoulders, and Core
- Setting Up Bridge and Wheel Without Compressing Your Low Back
- Building a Progression Ladder Over Weeks, Not Days
- Breathing Your Way Into and Out of a Backbend
- Red Flags That Mean You Should Stop
- Using Props to Access Deeper Backbends Safely
- A Teacher’s Note on Patience
- Gear That Supports a Safer Backbend Practice
- Where to Go Deeper on Backbend Technique
- Sources
Why Mobility and Strength Together Create Safe Backbend Depth
Your lumbar spine has limited rotation and extension compared to your thoracic spine, which is built for it. When your hip flexors, quads, and chest stay tight, your body borrows range from the low back to fake the shape, and that’s where compression and pinching start. Opening the front body, meaning your psoas, rectus femoris, and chest, gives your thoracic spine the freedom to extend instead of dumping everything into three or four lumbar segments. Backbends are generally healthy for most practitioners when the alignment and prep are right, though people with specific spinal diagnoses should get medical clearance first, according to YogaUOnline’s tutorial on safer backbends. Yoga Journal frames this as strength, spaciousness, and breath working together, with side-body and hip-flexor length doing the job your low back shouldn’t have to.
Your Warm-Up Checklist Before Backbends
Cold tissue and a cold spine are how minor backbend attempts turn into strains. Run through this sequence in order, spending 5 to 10 minutes total.
- Neck and shoulder circles — 6 to 8 slow reps each direction to release upper-body tension.
- Wrist stretches and circles — 30 seconds each direction, since your wrists bear real weight in wheel.
- Hip circles and low lunges — 6 to 8 reps per side to wake up the hip flexors.
- Cat-Cow flow — 8 to 10 rounds, moving with your breath to mobilize the entire spine segment by segment.
- Gentle twists — 30 to 45 seconds per side to free up rotation before you ask for extension.
Only move into targeted prep once your breath feels easy and your joints feel loose, not stiff or clicky.
Targeted Prep for Hips, Chest, Shoulders, and Core
This is where the real work happens. Hip-flexor length matters more than almost anything else for backbend depth, since tight hips pull your pelvis into a position that blocks thoracic extension before you even get there, per YogaAnatomy’s backbend deep dive.
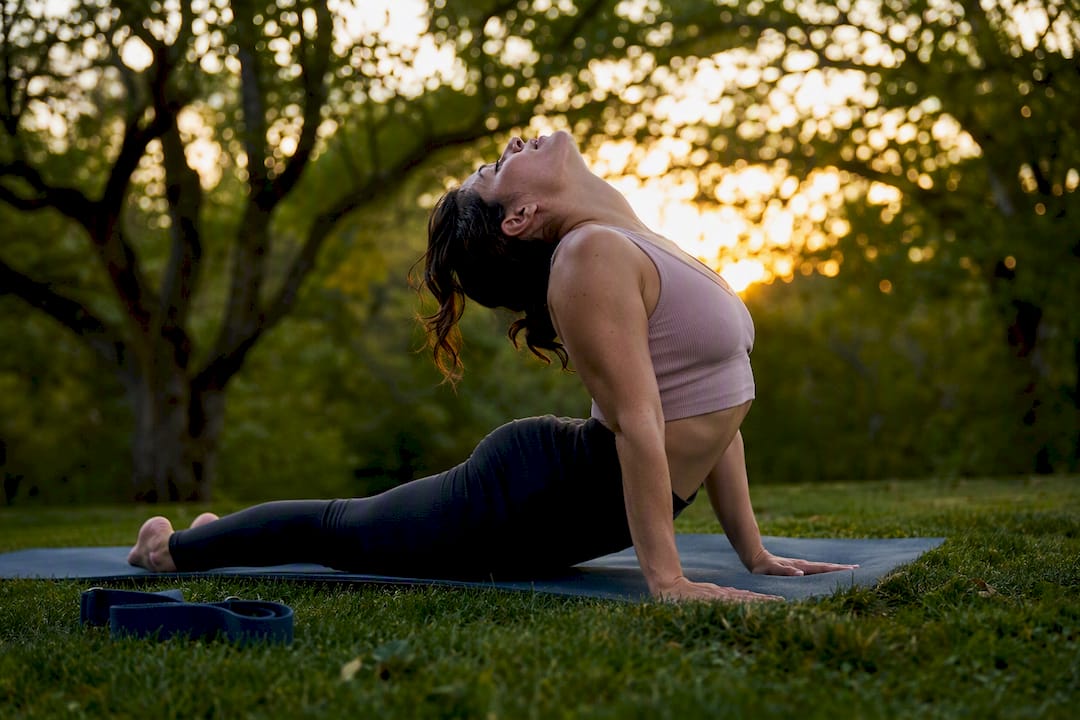
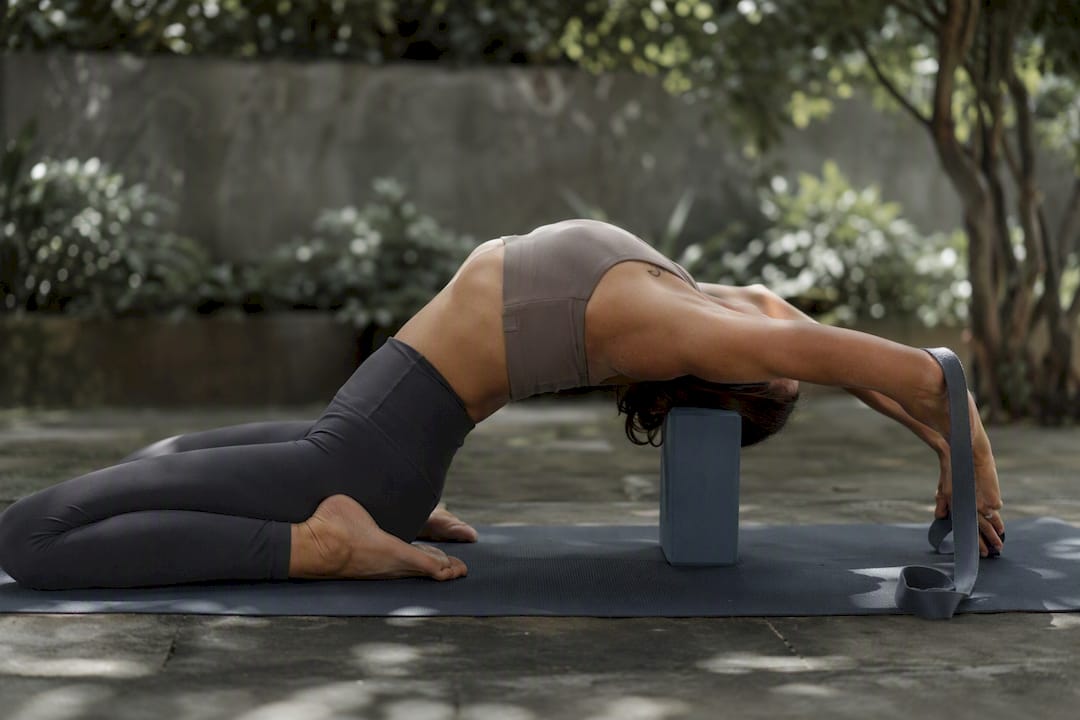
- Sphinx to press-up progression: hold Sphinx for 30 to 45 seconds, then press into a gentle Cobra for 3 to 5 breaths to build tolerance for thoracic extension.
- Three-stage kneeling hip-flexor prep: hands behind your hips on your knees for 20 seconds, then forearms down for 20 seconds, then toes tucked under for a deeper stretch, holding 15 to 20 seconds. This staged approach lets you find range without forcing it.
- Supported bridge variations: block under your sacrum for 1 to 2 minutes of passive opening before any active bridge attempt.
- Locust (Salabhasana): 3 rounds of 20 to 30 seconds to build the posterior-chain strength that supports active backbends.
- Puppy pose to Downward Dog: 5 breaths in Puppy to open shoulders, then a few Down Dog reps to reset.
Pro Tip: Picture your breastbone floating up and away from your belly button as you extend. This subtle cue draws the lift into your upper back instead of your neck or jaw, and it’s worth practicing in Sphinx or Cobra long before you try it in wheel.
Setting Up Bridge and Wheel Without Compressing Your Low Back
Alignment mistakes in bridge (Setu Bandha) and wheel (Urdhva Dhanurasana) almost always trace back to the same root cause: your low back trying to do a job your hips and thoracic spine should share.
- Hands and feet distance: setting your hands too close to your feet in wheel forces your lumbar spine to overcompensate. Walking your feet slightly farther back gives you more room for extension and takes pressure off L4 and L5, according to YogaAnatomy.
- Pelvic behavior: skip the aggressive tailbone tuck. Engage your transverse abdominals and mula bandha instead, which stabilizes your sacrum without blocking the thoracic opening you’re working toward, per Yoga International.
- Thigh and glute engagement: press your inner thighs toward each other for stability, but don’t clench your glutes so hard that your pelvis tucks under. Over-contracted glutes are one of the most common setup mistakes.
- Watch for: hands and feet too close together, a forced posterior tilt, and shallow breathing that signals you’ve gone past your current range.
Building a Progression Ladder Over Weeks, Not Days
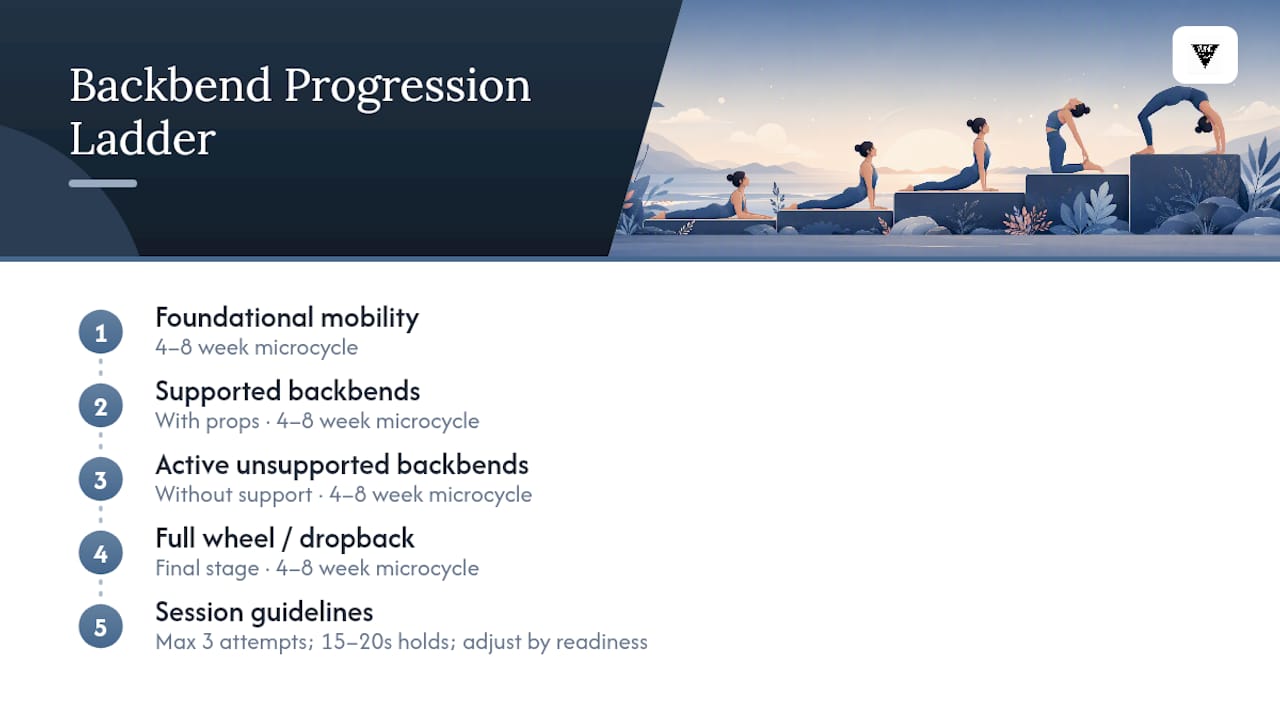
Deepening backbends is a slow, layered process, and trying to rush it is exactly how plateaus and injuries happen. Structure your practice in four stages: foundational mobility work, supported backbends with props, active backbends without support, and finally full wheel or dropback work.
Give yourself 4 to 8 week microcycles per stage rather than jumping ahead because one good session felt easy. Within a session, cap advanced backbend attempts at around three in a row, favoring shorter repeated holds of 15 to 20 seconds over one long maximal hold, a pattern Healthline’s guide to backbend progression recommends for reducing strain. Let your daily readiness set the pace: a stiff morning means shorter holds and more repetitions, not fewer reps at greater depth.
Breathing Your Way Into and Out of a Backbend
Use your inhale to expand your chest and lift into the pose, and a controlled exhale to ground and guide your descent. Yoga Journal treats breath as the primary tool for finding new range, not force. If you notice you’re holding your breath at the top of a hold, that’s your cue to ease back immediately. Practicing nose breathing beforehand helps you keep this rhythm steady under load instead of gasping through your mouth.
Red Flags That Mean You Should Stop
Sensation and pain are not the same thing, and knowing the difference protects your spine long-term.
- Sharp or radiating pain, especially down a leg or into your glutes.
- Persistent crunching or grinding in your low back.
- Numbness or tingling anywhere below the pose.
- Pain that lingers well after you’ve come out of the pose and rested.
Stop if you feel sharp, radiating pain or persistent crunching in the lower back. These are signals of compression or nerve irritation that call for regression and, if they don’t resolve, a conversation with a medical professional.
If you have a known disk issue, have had recent spine surgery, or manage a neck condition, get medical clearance before starting a backbend practice. Cap advanced sessions at three deep backbends in a row and always close with a cooldown.
Using Props to Access Deeper Backbends Safely
Props aren’t a crutch. They give your body precise feedback so you land on the right tissue instead of forcing a shape your hips or shoulders aren’t ready for yet, a point YogaUOnline makes repeatedly in its backbend teaching notes.
- Bolster under the thoracic spine: passive opening that lengthens your chest without any load on your low back.
- Block between your thighs: cues proper inner-thigh engagement and keeps your knees from splaying.
- Strap around your upper arms: builds shoulder mobility for wheel without straining your rotator cuffs, an approach covered in strap exercises for flexibility.
- Progression path: supported bridge with a block under your sacrum, then unsupported bridge, then full wheel once your thoracic mobility catches up.
A durable, well-cushioned mat and a sturdy strap matter here. Thin or slippery gear undermines exactly the stability these prop setups are meant to build.
A Teacher’s Note on Patience
Backbends move slowly, and that’s normal, not a failure. Sensation in your chest and hips often carries more emotion than other poses, so give yourself room to pause. Build this plan into a weekly habit and your depth will follow your consistency, not the other way around.
Gear That Supports a Safer Backbend Practice
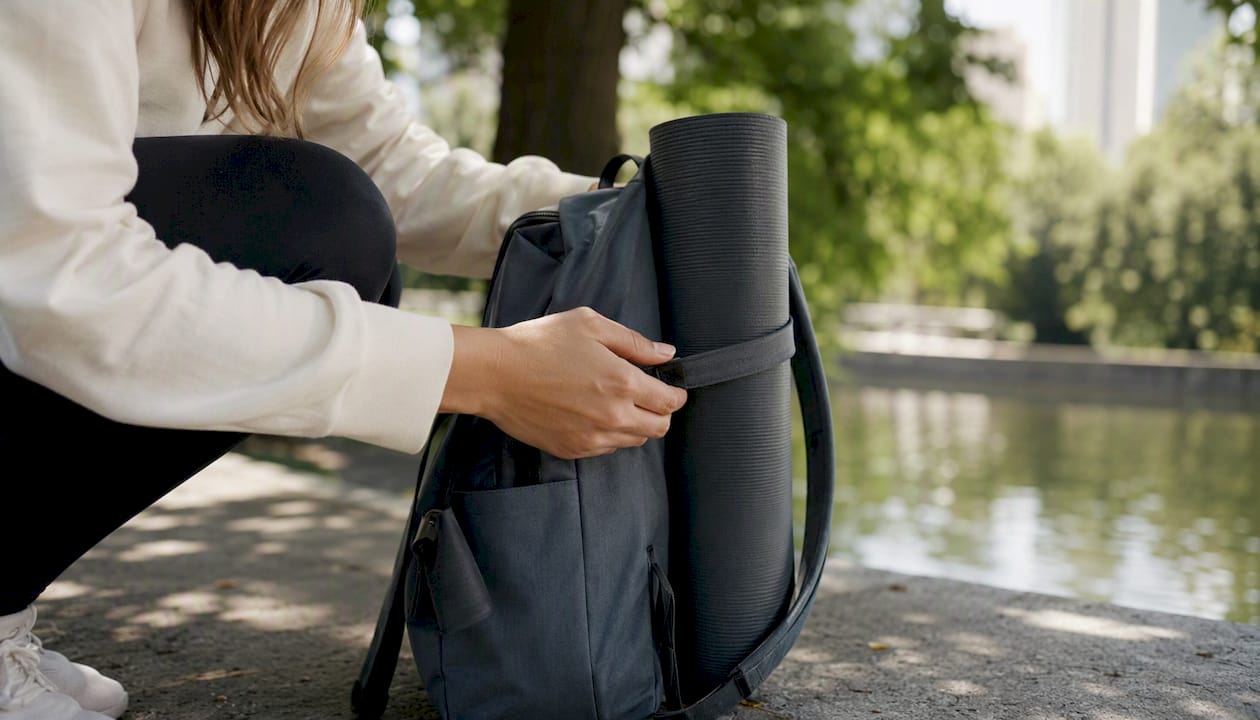
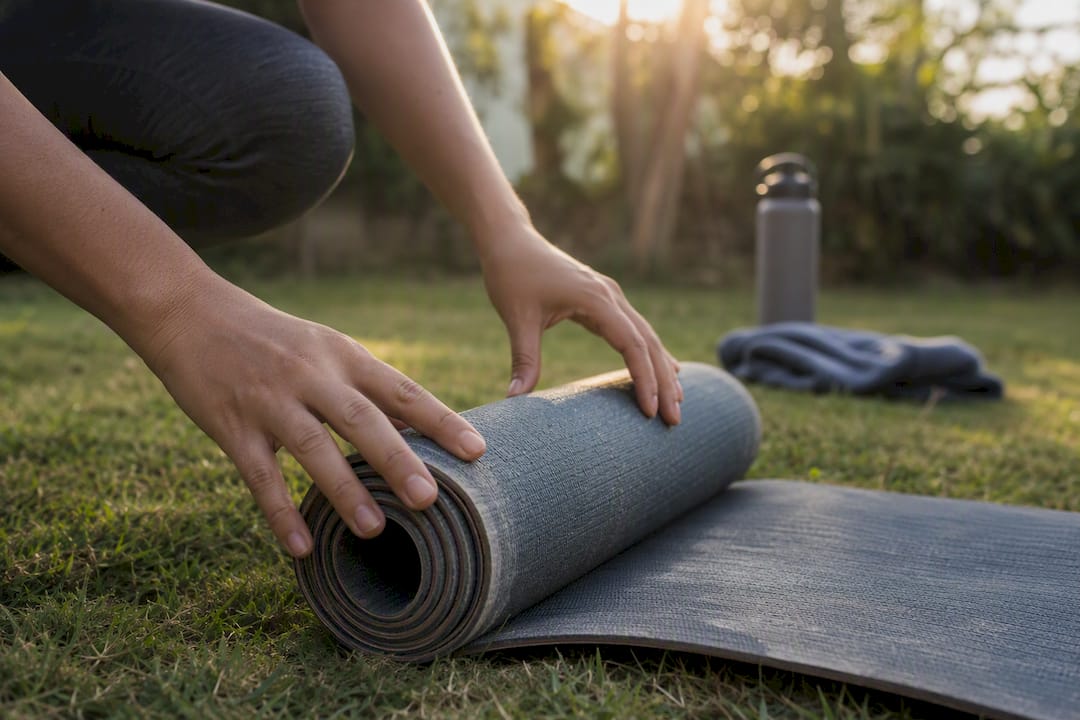
The props you use during backbend prep matter as much as your technique. A grippy, well-cushioned mat keeps your hands and feet anchored when you’re testing new hand-to-foot distances in wheel, and a strong strap makes those staged shoulder-opening drills actually usable instead of frustrating.
Yuneyoga’s natural rubber mats give you the traction you need when your palms are working hard in Sphinx or wheel setup, and the straps hold up to the repeated tension of shoulder and hip-flexor prep work session after session. If you’re building toward deeper backbends, a bolster is worth adding too, since supported bridge and passive thoracic opening both depend on having the right prop on hand rather than a stack of books. Visit the Yuneyoga shop to find eco-friendly mats, straps, blocks, and bolsters sized for exactly this kind of progressive practice.
Where to Go Deeper on Backbend Technique
- For anatomy and injury-prevention detail, read YogaAnatomy’s backbend deep dive.
- For sequencing and beginner-to-advanced progression, see Healthline’s backbend guide.
- For breath-first technique cues, check Yoga Journal’s backbend guide.
- For breathing exercises that build diaphragmatic control, try Mindpanda’s breathing guide.
This article is general information, not a substitute for advice from a qualified doctor. Consult a qualified healthcare professional about your own circumstances before acting on anything here.
Sources
- Backbends Tutorial: Building Real Flexibility Without the Low Back Pain - YogaUOnline
- How to do a backbend - Yoga Journal
- Backbend deep dive: Backbending - YogaAnatomy
- 5 Steps to Safer Backbends - Yoga International
- Yoga Backbends for Beginners: How to Get Started and How to Progress - Healthline