
Spray for yoga mat: How to choose, make, and use the right cleaner
Key Takeaways
A good spray for yoga mat should lift sweat and daily grime without making the surface slippery or dull. The safest routine is simple: use a gentle formula, apply only as much moisture as needed, and let the mat dry fully before storing it.
- Choose a cleaner that suits your mat’s material and finish.
- Use water-based ingredients sparingly and avoid heavy oils, bleach, and harsh solvents.
- Test any homemade or ready-made formula on a small hidden area first.
- Wipe the mat after sweaty sessions and deep-clean it occasionally.
- Store the mat dry, loosely rolled, and away from prolonged heat or direct sun.
Understand what a spray for yoga mat should do
A yoga mat collects more than visible dust. Sweat, skin oils, lotion, and particles from studio floors or outdoor spaces can settle into the surface during ordinary practice. The right cleaner should remove that film while keeping the mat comfortable, grippy, and ready to pack for the next session.
A spray for yoga mat is not meant to flood the material or create a strongly perfumed coating. Think of it as a light maintenance tool, followed by a clean wipe and complete drying. That approach works especially well for people who carry their gear between home, classes, parks, and hotel rooms.
Remove sweat, oils, and everyday residue
Sweat and body oils can leave a mat feeling slick even when it looks clean. A soft cloth and a mild, diluted cleaner are usually enough for a fresh surface after practice. Start by removing loose grit, then wipe in sections rather than repeatedly spreading the same damp residue around.
For a portable setup, this small habit matters. Yune Yoga foldable travel mats are designed for easy transport, so a quick wipe before folding helps keep dirt from transferring into a bag. Use a separate towel for drying rather than putting a damp mat straight into luggage.
Control odors without leaving buildup
Odor usually becomes noticeable when moisture and residue remain trapped on the mat. Fragrance can cover that smell temporarily, but a cleaner works better when it removes the material causing it. Use a light spray, give stubborn areas a little contact time, and wipe thoroughly.
Avoid trying to solve odor with repeated heavy applications. Too much product can leave a film that attracts more dust and changes the feel of the surface. A clean, nearly dry finish is a better goal than a strongly scented one.
Preserve grip and mat texture
Grip depends on the mat’s surface, and that surface can change when coated with soap, oil, wax, or conditioner. A cleaner should leave the texture feeling like itself, not glossy or slippery. If your hands or feet slide more than usual after cleaning, reduce the amount of product and rinse the cloth more often.
The same care applies to accessories. Yune Yoga absorbent yoga towels can help manage moisture during a sweaty session, but wash them according to their care instructions and keep fabric fibers from being rubbed into the mat’s texture.
Match the cleaner to your mat material
Different mats respond differently to moisture, acidity, friction, and fragrance. PVC and closed-cell foam generally tolerate a light wipe, while porous, textured, cork, and natural rubber surfaces may need more cautious treatment. When available, the manufacturer’s care instructions should take priority over a general recipe.
Use this quick comparison as a starting point, not a substitute for a compatibility test:
| Mat surface | Safer starting approach | Main caution |
|---|---|---|
| Closed-cell foam or PVC | Lightly damp cloth with mild diluted cleaner | Do not leave a soapy film |
| Natural rubber | Minimal moisture and gentle wiping | Avoid strong solvents and prolonged soaking |
| Cork or porous texture | Very light application and prompt drying | Liquid can settle into the pores |
| Fabric or absorbent surface | Follow the care label first | Excess moisture may dry slowly |
After cleaning, compare the grip and appearance with the untouched area. If the finish looks cloudy, feels tacky, or develops a new odor, stop using that formula and return to plain water or the maker’s recommended product.
Choose the right ingredients and formula
A homemade cleaner does not need a long ingredient list. In most cases, water provides the base and a small amount of mild supporting ingredient helps loosen residue. The formula should be easy to identify, easy to mix fresh, and easy to remove from the mat.
Before choosing ingredients, consider how often you practice, where you use the mat, and how quickly it can dry. A person practicing outdoors may need to remove grit before wiping, while someone using a mat indoors may mainly be managing sweat and skin oils.
When to use water-based cleaners
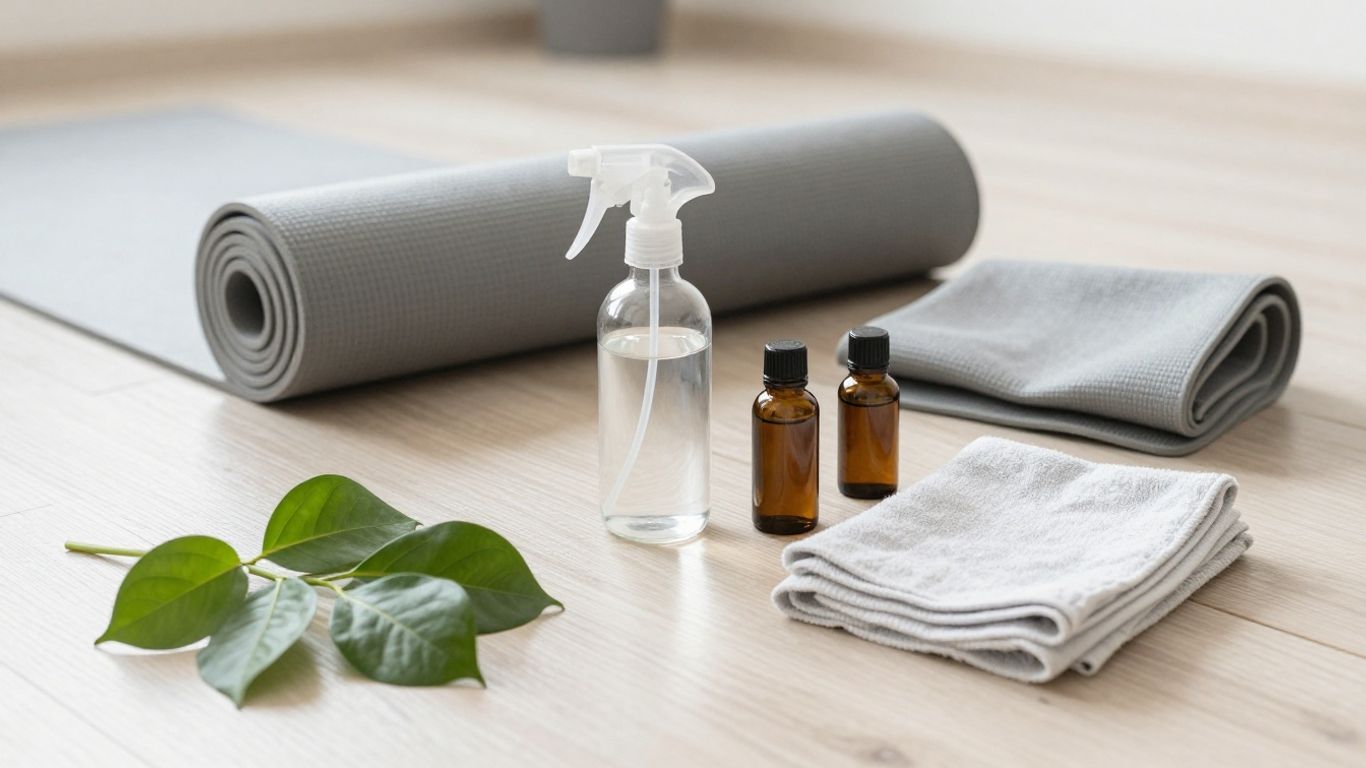
Water-based cleaners are a sensible first choice for routine wipe-downs because they are simple and leave less material behind. Use distilled or clean tap water in a spray bottle, then apply it to a cloth or in a very fine mist. The cloth should feel damp, not saturated.
For a gentle option, add only a tiny amount of mild, unscented soap if plain water does not lift residue. Too much soap creates the very buildup you are trying to remove. A practical DIY yoga mat cleaner guide can help you compare water, vinegar, and essential-oil approaches before mixing a batch.
Benefits and limitations of diluted vinegar
Diluted white vinegar is commonly used in homemade cleaning sprays because it can help cut through some everyday residue and unwanted smells. It is still acidic, though, and “natural” does not automatically mean suitable for every mat. Use a weak dilution, avoid soaking, and test it on an inconspicuous section first.
Do not combine vinegar with bleach or other strong cleaning products. If the mat’s care label warns against acidic cleaners, follow that instruction. Vinegar’s smell may also linger briefly, especially on porous materials, so ventilation and thorough drying matter.
Using essential oils safely
Essential oils can add fragrance, but they are concentrated oils rather than neutral cleaning water. A few drops dispersed through a properly mixed solution may be acceptable for some mats, while undiluted drops can stain, soften, or make a surface slippery. Never apply essential oil directly to the mat.
Keep scented formulas away from eyes, broken skin, and anyone sensitive to fragrance. If you prefer a low-scent routine, skip oils entirely. A useful DIY yoga mat cleaner recipe can offer ingredient ideas, but your mat’s material and care instructions still decide what is appropriate.
Ingredients to avoid on yoga mats
Strong household disinfectants, bleach, ammonia, abrasive powders, and solvent-based products are poor default choices for a mat. They may affect color, texture, adhesive layers, or grip. Heavy oils and furniture polishes are also unsuitable because they leave a coating rather than a clean surface.
Be cautious with baking soda on delicate or textured finishes. Its mild abrasiveness can be more noticeable when rubbed repeatedly. When in doubt, choose less product, less friction, and more drying time.
Make a DIY spray for yoga mat
A homemade spray can be convenient when you want a small batch for regular upkeep. The best recipe is one you can identify at a glance and replace frequently rather than one that sits forgotten in a cabinet for months. Clean the bottle first, use fresh water, and write the date on the label.
These formulas are starting points for compatible mats, not universal guarantees. Always check the manufacturer’s guidance and test a hidden area before treating the entire surface.
A simple everyday cleaning recipe
For a basic daily spray, combine two cups of clean water with one teaspoon of mild, unscented liquid soap. Shake gently, mist a cloth rather than soaking the mat, and wipe the surface in overlapping passes. Follow with a second cloth lightly dampened with plain water if the mat feels soapy.
You can also use plain water when the mat only needs a quick refresh. The goal is to remove fresh residue without building a layer of cleaner. This straightforward method aligns with the practical steps in this yoga mat cleaning guide, especially for frequent wipe-downs.
A deeper-cleaning formula for stubborn odors
For a stronger occasional clean, mix one cup of water with one cup of white vinegar. Apply a small amount to a cloth, wipe the affected areas, and allow brief contact before wiping again with plain water. Do not saturate a porous mat, and do not use this formula if the care label rules out vinegar.
Persistent odor may indicate that the mat is retaining moisture or that the storage area is too enclosed. Cleaning more aggressively will not fix that underlying problem. Improve ventilation, dry the mat longer, and wash nearby towels or straps as well.
How to mix and label homemade solutions
Use a clean spray bottle with a working nozzle and label it with every ingredient, the mixing date, and the intended mat material. Keep the bottle away from heat and sunlight. Homemade water-based formulas are best made in small quantities and discarded if they become cloudy, develop an unusual smell, or show particles.
A simple label can include:
- The ingredients and their approximate amounts.
- The date the mixture was prepared.
- The mat surfaces it has passed a spot test on.
- A reminder to shake gently before use.
That small amount of organization prevents accidental mix-ups. Never reuse a bottle that previously held bleach, degreaser, or another harsh household chemical unless it has been thoroughly replaced and verified safe.
When a ready-made cleaner is the better choice
A ready-made cleaner may be preferable when you want consistent instructions, a measured formula, or less preparation. Choose one that clearly lists ingredients and gives directions for your mat type. Avoid assuming that a product suitable for one surface will work on every foam, rubber, cork, or fabric construction.
Convenience can be especially useful when traveling. Yune Yoga durable yoga straps are made for carrying and supporting a portable practice, but they still need to remain dry and free from cleaner overspray. Keep accessories separate while cleaning so moisture does not collect in a packed bundle.
Apply the spray without damaging your mat
Application technique often matters as much as the formula. A gentle cleaner used in excess can still leave residue, while a simple spray used with a rough brush can wear the surface. Work in manageable sections and pay attention to how the mat feels as it dries.
Use a soft, clean microfiber cloth when possible. If you practice outdoors, shake or brush away sand and grit before wiping so those particles do not act like sandpaper.
Wipe the surface before and after practice
Before practice, remove visible dust, hair, and grit with a dry cloth. After practice, wipe sweat and oils while they are still fresh. This two-stage habit reduces the amount of cleaner needed later and keeps residue from being pressed deeper by repeated rolling.
A cloth can be more controlled than spraying the entire mat. Mist the cloth, clean one area, turn to a dry section, and continue. This is particularly helpful when practicing in a hotel room or moving between outdoor locations.
Use the right amount of moisture
The mat should become lightly damp, not wet enough to drip or pool. If you spray directly, hold the bottle back and use a fine mist. For delicate or porous surfaces, spray the cloth instead and keep the liquid away from edges and seams.
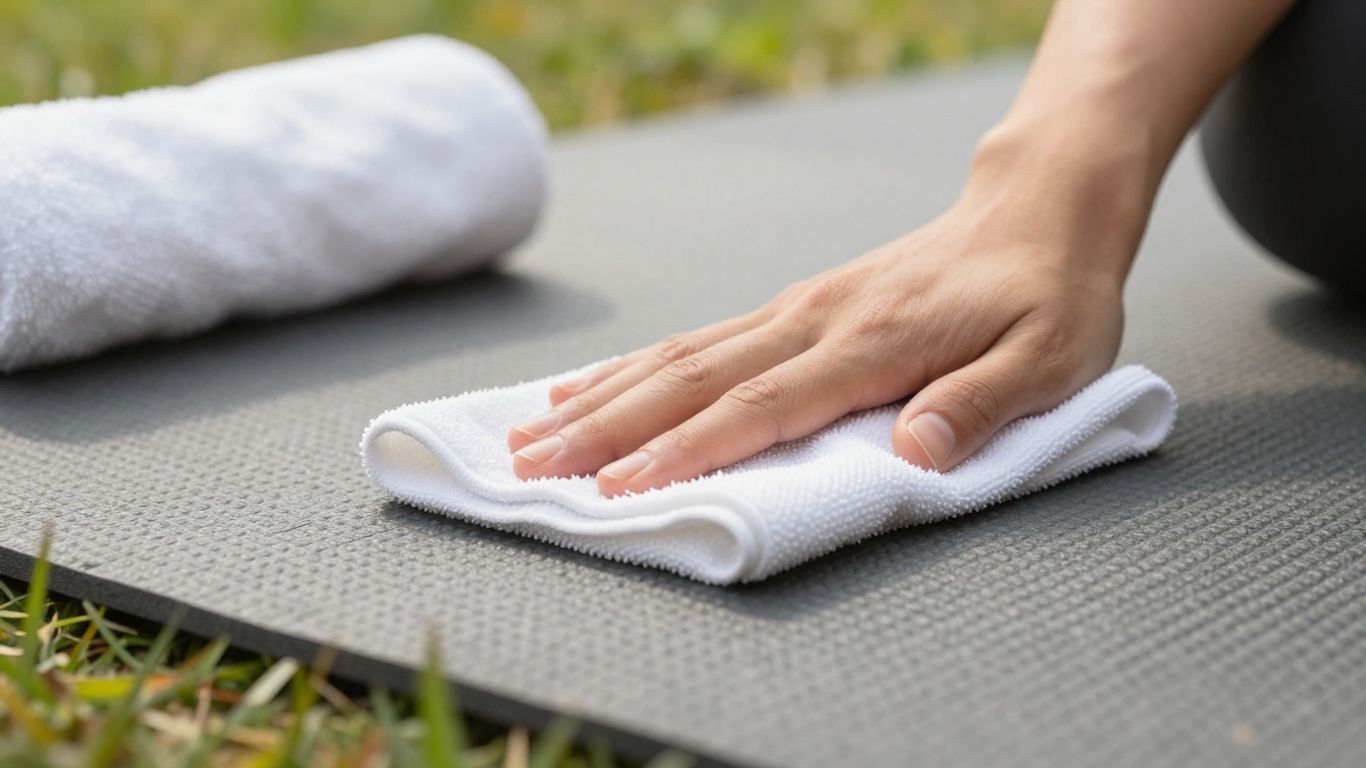
After wiping, run a clean, slightly damp cloth over any area that feels tacky. Then use a dry towel to remove remaining moisture. Excess product is not a sign of a deeper clean; it is usually a sign that the cloth needs rinsing or the formula needs diluting.
Clean textured, porous, and natural rubber mats
Textured and porous mats need patience because liquid can settle into small recesses. Use short, gentle passes rather than vigorous circular scrubbing. Natural rubber may also react poorly to strong chemicals, prolonged soaking, or extended direct sunlight, so keep the cleaning session controlled.
If the surface has a special finish, follow the manufacturer’s instructions before using vinegar or essential oils. A small test area can reveal changes in color, tackiness, or smell before you commit to a full wipe.
Dry the mat completely before rolling it
Drying is the final cleaning step, not an optional extra. Lay the mat flat or hang it in a well-ventilated place, away from excessive heat. Do not roll it while cool dampness remains on either side.
Give the surface a final touch test in several areas, including the edges. If it feels damp or smells closed-in, wait longer. A dry mat is easier to store, less likely to develop mildew, and more comfortable at the next practice.
Build a practical yoga mat cleaning routine
A routine should fit your actual practice rather than demand a full wash after every gentle stretch. Frequent light wiping usually prevents residue from becoming difficult, while occasional deeper attention addresses areas that daily cleaning misses. The more often the mat travels, the more useful a predictable routine becomes.
Keep a cloth and small bottle near your practice gear so cleanup takes less effort. If you need guidance on broader mat-care habits, this yoga mat maintenance guide covers wiping, drying, storage, and ways to reduce moisture problems.
Clean your mat after sweaty sessions
Wipe the mat after hot, long, or outdoor sessions, especially when sweat or dirt is visible. Clean both the upper surface and any part that touched a questionable floor. Let it air out before placing it in a carrier or closet.
If you use a towel during practice, wash it regularly too. A damp towel folded against a clean mat can reintroduce odor and moisture even when the mat itself was wiped correctly.
Schedule occasional deep cleaning
A deeper clean can be useful when the mat feels tacky, smells after drying, or has visible marks that a quick wipe cannot remove. Choose a day when you can give the mat plenty of ventilation and drying time. Do not turn every cleaning into a soak; many mats are better served by a careful surface treatment.
Frequency depends on sweat, location, and material. A weekly wipe may be enough for light indoor use, while frequent outdoor or heated practice may call for more attention. Adjust based on the mat’s condition rather than a rigid calendar.
Store the mat to prevent mildew
Store the mat only when it is fully dry. Roll it according to the manufacturer’s instructions, avoid sealing it immediately in an airtight bag, and keep it off persistently damp floors. If the mat has a fabric carrier, air that out as well.
Avoid leaving a wet mat in a car, closed gym bag, or sunny window. Heat and trapped humidity can affect both the material and the smell. A cool, dry shelf with some airflow is usually a better home.
Know when the mat needs replacing
Cleaning cannot restore a surface that is peeling, cracking, permanently slick, or losing its structure. Replace the mat when damage affects stability or when the material continues to hold odor despite careful cleaning and drying. A worn surface may also shed particles or make practice less comfortable.
Before replacing it, check whether the problem is actually residue from an incompatible product. If a small area remains normal but the rest feels coated, stop using the cleaner and give the mat a gentle reset with the recommended method.
Avoid common yoga mat cleaning mistakes
Most cleaning problems come from excess rather than neglect: too much liquid, too much fragrance, too much friction, or too little drying time. A simple routine is easier to maintain and less likely to change the mat’s original feel.
Treat every new formula as an experiment that deserves a small test. That is especially true when a mat has a specialty texture, printed finish, porous construction, or rubber content.
Using too much soap or oil
Soap residue can make a mat slippery, while oil can create a persistent coating that attracts dust. Start with less than you think you need and rinse the cloth often. If a surface feels slick after drying, wipe it with a clean damp cloth and reassess.
Essential oils should never be used as a substitute for dilution. A pleasant scent does not prove that the surface is clean or that the formula is compatible.
Applying harsh disinfectants
Bleach, strong alcohol mixtures, ammonia, and solvent-based cleaners can damage finishes or irritate skin. They may also create fumes in a small practice space. Unless the mat maker specifically recommends a product, use a mild cleaner intended for the material instead.
Do not mix cleaning chemicals. If you are switching from one product to another, wipe away the first formula with plain water and allow the mat to dry before testing anything new.
Scrubbing away the mat’s finish
A stiff brush and abrasive powder can remove more than dirt. Repeated hard scrubbing may flatten texture, fade color, or expose a different layer beneath the surface. Use a soft cloth and let the cleaner do the limited loosening work it is designed to do.
For a stubborn mark, repeat a gentle pass after a short pause rather than pressing harder. If the mark remains, check the care instructions before escalating.
Skipping a small-area compatibility test
A spot test takes only a few minutes and can prevent an entire mat from being stained or made slippery. Apply a small amount beneath an edge or in another discreet place, then let it dry fully. Check color, texture, grip, and smell before treating the rest.
This is also the sensible approach when trying a page about best yoga mat cleaners, since general product comparisons cannot account for every material or finish. Your own mat remains the final test.
Conclusion
The best spray for yoga mat is gentle, material-appropriate, and easy to use consistently. Whether you mix a small water-based batch or choose a ready-made formula, apply it lightly, wipe away residue, and let the mat dry completely. Those practical habits keep a portable practice setup cleaner without sacrificing grip or texture.
Frequently Asked Questions
How often should I use a spray for yoga mat?
Wipe the mat after sweaty or outdoor sessions, and use a deeper cleaning method when odor, visible residue, or tackiness remains. Light indoor practice may need less frequent cleaning.
Can I use plain water to clean my yoga mat?
Yes. Plain water and a clean cloth are often enough for fresh sweat and light dust. Use a small amount of mild soap only when water does not lift the residue.
Is vinegar safe for every yoga mat?
No. Diluted vinegar may suit some materials, but it can be unsuitable for others, especially when the manufacturer advises against acidic cleaners. Always check the care label and perform a spot test.
Can essential oils damage a yoga mat?
They can. Essential oils are concentrated and may leave a slippery or oily film, stain the surface, or affect some finishes. Never apply them undiluted.
Should I spray the mat directly or spray a cloth?
Spraying a cloth gives you better control and reduces excess moisture. Direct misting can work on some surfaces, but avoid soaking edges, seams, and porous materials.
How do I remove a lingering smell from my mat?
Clean away residue with a compatible gentle formula, then improve airflow and allow the mat to dry completely. Repeatedly adding fragrance may mask rather than solve the cause.
Can I roll my yoga mat immediately after cleaning?
No. Wait until the entire surface feels dry, including textured recesses and edges. Rolling a damp mat can trap moisture and encourage mildew or persistent odor.


