Yoga With Tim 20 Minutes: Quick Full-Body Flow for Busy Mornings
Ever tried fitting in a workout before coffee? It’s not easy. That’s why this yoga with tim 20 minutes flow is so great. You’ll open your body from head to toe in a few simple steps, from setting up your mat to winding down in savasana—all before the day really begins.
Key Takeaways
- Pick a quiet spot, lay out your mat and props, and set a clear morning intention.
- Start with gentle spine moves, a sun salutation variation, and deep hip-openers to wake up.
- Fire up your core with boat-pose prep, forearm plank shifts, and seated twists for stability.
- Sculpt arms and shoulders by flowing through chaturanga to upward dog, eagle arms, and puppy pose.
- Finish strong with ujjayi breath, mindful pauses, and restorative poses like twists, happy baby, and savasana.
Preparing Your Space for Yoga With Tim 20 Minutes
Before jumping into your Yoga With Tim 20 minutes routine, setting up your space is key. It's not just about having enough room; it's about creating an environment that supports focus and relaxation. A little preparation goes a long way in maximizing the benefits of your practice. Let's get started!
Selecting a Calm Corner
Finding the right spot can make or break your yoga session. Ideally, choose a space that's free from distractions and noise. This might be a corner of your living room, a spare bedroom, or even a quiet spot outdoors if the weather permits. Consider these points:
- Minimize interruptions: Let family members know you need some quiet time.
- Check the temperature: Make sure the room isn't too hot or too cold.
- Consider natural light: If possible, practice near a window for a mood boost.
Laying Down Your Mat and Props
Your yoga mat is your foundation. Make sure it's clean and placed on a level surface. Gather any props you might need, such as blocks, straps, or a blanket. Having these items within reach will prevent you from breaking your flow to search for them later. Think about:
- Mat placement: Ensure you have enough space to move freely in all directions.
- Prop accessibility: Keep blocks and straps nearby for easy access.
- Comfort items: A blanket can be useful for restorative poses or extra support.
Setting an Intention
Before you begin, take a moment to set an intention for your practice. This could be anything from improving your flexibility to reducing stress or simply being present in the moment. Setting an intention helps to focus your mind and deepen your connection to your body. Consider these questions:
- What do I want to achieve today?
- How do I want to feel during and after my practice?
- What am I grateful for?
Taking a few deep breaths and reflecting on your intention can significantly enhance your yoga experience. It's a simple yet powerful way to cultivate mindfulness and bring a sense of purpose to your practice. Remember, even a small intention can make a big difference.
With your space prepared and your intention set, you're ready to dive into your yoga with Tim 20-minute flow!
Morning Warm-Up for the Yoga With Tim 20 Minutes Routine
Okay, so you've got your space set up, and you're ready to roll out your mat. Now, let's get that body prepped for the full-body flow. This warm-up is designed to gently wake up your muscles and get your joints moving, so you can avoid any unnecessary ouchies during the more intense poses.
Gentle Spinal Mobilizations
We're talking cat-cow, folks! But let's not just go through the motions. Really focus on each vertebra, feeling the stretch and the release. Think about lengthening your spine on the inhale and rounding it on the exhale. Maybe even add some gentle side-to-side movements to get into those obliques. I like to do at least 5-10 rounds of this, really taking my time. It's amazing how much tension we hold in our spines, especially first thing in the morning.
Dynamic Sun Salutation Variation
Forget the full-blown sun salutations just yet. We're going for a modified version to get the blood flowing. Start with a simple forward fold, then move into a flat back, followed by a gentle plank. From there, skip the chaturanga and go straight to downward-facing dog. Hold for a few breaths, then walk your feet back to your hands and repeat. This dynamic movement helps to increase circulation and warm up the major muscle groups.
Hip-Opening Lunges
Time to get those hips ready for action! Step forward into a low lunge, making sure your knee is directly over your ankle. Gently pulse forward and back, feeling the stretch in your hip flexors. You can also add a twist, reaching your arm towards the ceiling on the same side as your front leg. Hold each lunge for a few breaths, then switch sides. This is a great way to improve flexibility and range of motion in your hips, which is super important for preventing injuries during yoga.
I find that focusing on my breath during these warm-up exercises really helps me to connect with my body and get into the right mindset for my practice. It's not just about the physical movements; it's about creating a sense of calm and focus before diving into the more challenging poses.
Here's a quick breakdown of the warm-up:
- Cat-Cow: 5-10 rounds
- Modified Sun Salutations: 3-5 rounds
- Hip-Opening Lunges: 5 breaths per side
Remember to listen to your body and modify as needed. The goal is to feel good, not to push yourself too hard, especially in the morning. Now, let's get that core activation going!
Core Activation Drills for a Strong Morning Flow
Time to fire up that core! These drills are designed to get your midsection engaged and ready for the more dynamic poses to come. Think of this as waking up your powerhouse, setting the stage for a more stable and powerful practice. It's not about endless crunches; it's about intelligent activation.
Boat Pose Prep With Bent Knees
We're not jumping straight into full Boat Pose. Instead, we'll ease in with a bent-knee variation. This allows you to focus on engaging your deep core muscles without straining your lower back.
- Start seated with your knees bent and feet flat on the floor.
- Hold your hands behind your thighs for support.
- Lean back slightly, keeping your spine straight. Feel your core engage to maintain balance.
- Lift your feet a few inches off the floor, still holding onto your thighs. Hold for 5-10 breaths. This core activation is key.
Forearm Plank Transitions
Planks are amazing, but let's add a little spice with some transitions. These movements challenge your core stability and build strength in your shoulders and arms too. Remember to keep your body in a straight line from head to heels.
- Start in a forearm plank position, elbows directly under your shoulders.
- Engage your core and glutes to prevent your hips from sagging.
- Slowly shift your weight from side to side, gently tapping your hips towards the floor on each side. Do this for 30 seconds.
- Next, try rocking forward and backward slightly, engaging your core to control the movement. Another 30 seconds.
Seated Twist for Stability
Time to work on those obliques! A seated twist not only improves spinal mobility but also strengthens the muscles that support your core. Focus on twisting from your torso, not just your neck.
- Sit tall with your legs extended in front of you.
- Bend your knees and place your feet flat on the floor.
- Inhale and lengthen your spine. Exhale and twist to the right, placing your left hand on your right knee and your right hand behind you for support.
- Hold the twist for 5-10 breaths, then repeat on the other side.
Remember to listen to your body. If you feel any pain, ease off or modify the pose. The goal is to build strength and stability, not to push yourself to the point of injury. A strong core is the foundation for a healthy and balanced yoga practice.
Upper-Body Sequence to Sculpt Arms and Shoulders
This segment focuses on poses designed to tone and strengthen your arms, shoulders, and back. We'll move through a series of dynamic movements and static holds to build muscular endurance and improve flexibility. Remember to listen to your body and modify as needed.
Chaturanga to Upward Dog Transition
This classic vinyasa flow is a powerhouse for upper body strength. Start in plank position, lower down into Chaturanga (low plank), and then transition into Upward Dog.
Here's a breakdown:
- Plank: Shoulders over wrists, core engaged.
- Chaturanga: Lower halfway, elbows close to the body.
- Upward Dog: Chest open, shoulders back, thighs off the ground.
If Chaturanga is too challenging, modify by placing your knees on the ground. This power yoga moves modification still provides a great workout.
Eagle Arms for Mobility
Eagle Arms is a fantastic pose for opening up the shoulders and upper back. It improves mobility and releases tension. To perform Eagle Arms:
- Extend your arms straight out in front of you.
- Cross your right arm over your left, bending at the elbows.
- Try to bring the palms of your hands together (or as close as you can).
- Lift your elbows up and away from your chest to deepen the stretch.
Hold for several breaths and then repeat on the opposite side. This is great for shoulder flexibility.
Puppy Pose Extension
Puppy Pose is a gentle backbend and shoulder opener. It's a restorative pose that can help relieve stress and improve posture. To get into Puppy Pose:
- Start on your hands and knees.
- Keep your hips stacked over your knees and walk your hands forward, lowering your chest towards the ground.
- Rest your forehead on the mat and extend your arms forward.
Focus on lengthening your spine and opening your chest. Breathe deeply and allow your body to relax into the pose. This is a great way to counter the effects of sitting at a desk all day.
Lower-Body Power Poses to Build Strength and Balance
Time to fire up those legs! This section focuses on poses that build strength, improve balance, and increase flexibility in your lower body. We'll be working on grounding ourselves and finding stability through powerful stances and controlled movements. Get ready to feel the burn!
Warrior II Alignment Tips
Warrior II is a foundational pose, but proper alignment is key to maximizing its benefits and preventing injury. Here's what to focus on:
- Front Knee: Make sure your front knee is directly over your ankle. Avoid letting it extend past your toes.
- Back Foot: The arch of your back foot should align with the heel of your front foot. Press firmly into the outer edge of your back foot.
- Torso: Keep your torso upright and centered between your legs. Avoid leaning forward or backward.
- Arms: Extend your arms out to the sides, parallel to the floor. Gaze softly over your front hand.
Remember to breathe deeply throughout the pose. If you feel any pain, gently adjust your alignment or come out of the pose.
Chair Pose With Core Engagement
Chair Pose is a fantastic way to build strength in your legs and core. Engaging your core is essential for maintaining proper form and protecting your lower back. Here's how to do it:
- Start with your feet hip-width apart or together.
- Inhale and raise your arms overhead, palms facing each other or slightly apart.
- Exhale and bend your knees as if you're sitting back into a chair. Keep your weight in your heels.
- Engage your core by drawing your navel in towards your spine. This will help you maintain balance and prevent your lower back from arching.
- Hold the pose for several breaths, then inhale to straighten your legs and return to standing.
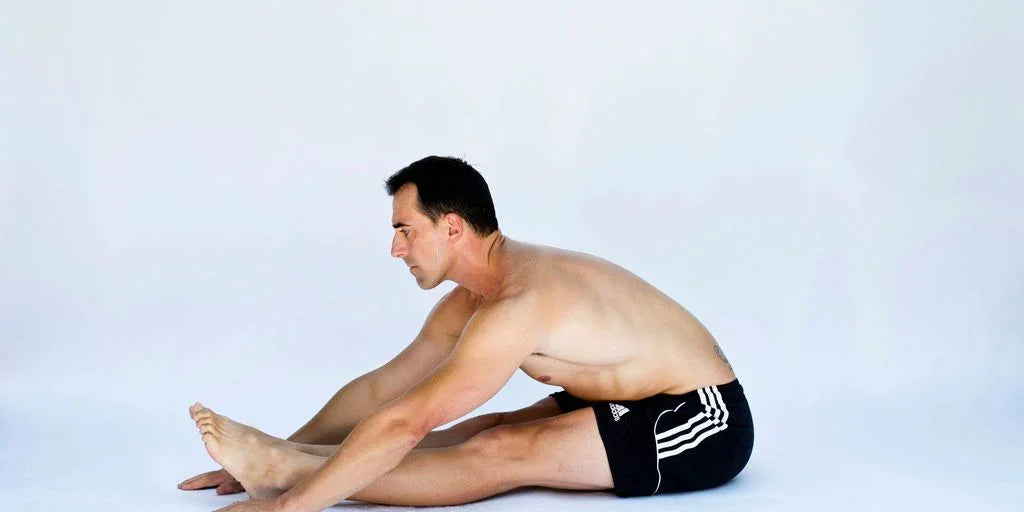
Reclining Hamstring Stretch
After all that strengthening, it's important to stretch those hamstrings! This reclining hamstring stretch is a gentle way to increase flexibility and release tension. Grab a strap or towel to help you deepen the stretch.
- Lie on your back with your knees bent and feet flat on the floor.
- Bring one knee towards your chest and loop a strap or towel around the ball of your foot.
- Slowly straighten your leg towards the ceiling, keeping a slight bend in your knee if needed.
- Gently pull on the strap or towel to deepen the stretch. You should feel a comfortable stretch in the back of your thigh.
- Hold the stretch for 30 seconds to a minute, then repeat on the other side. This yoga routine will help you build leg strength.
Breathing Techniques to Deepen Your Practice
Breathing is so important in yoga, and it's easy to forget about it when you're focusing on the poses. But, when you really connect your breath to your movement, it can totally change your practice. It's not just about getting more oxygen; it's about calming your mind and finding a deeper connection with your body. Let's explore some techniques to help you do just that.
Ujjayi Breath Fundamentals
Ujjayi breath, sometimes called "ocean breath," is a game-changer. It involves slightly constricting the back of your throat as you breathe in and out through your nose. This creates a soft, ocean-like sound. It might feel a little weird at first, but with practice, it becomes second nature. The sound helps you focus, and the breath itself generates internal heat, which can be great for warming up your muscles. If you're new to this, try practicing in front of a mirror to make sure you're not straining your neck. You can also check out Ujjayi pranayama for a more in-depth explanation.
Coordinating Breath With Movement
This is where the magic happens. Instead of just going through the motions, try to sync each inhale and exhale with a specific part of each pose. For example:
- Inhale as you lift your arms overhead in mountain pose.
- Exhale as you fold forward into forward fold.
- Inhale as you lengthen your spine in a half-lift.
- Exhale as you plant your hands and step back into plank.
It takes some practice to get the timing right, but it's worth it. When your breath and movement are in sync, you'll find that you can move more fluidly and with more control. Plus, it helps keep you present in the moment. It's like a moving meditation!
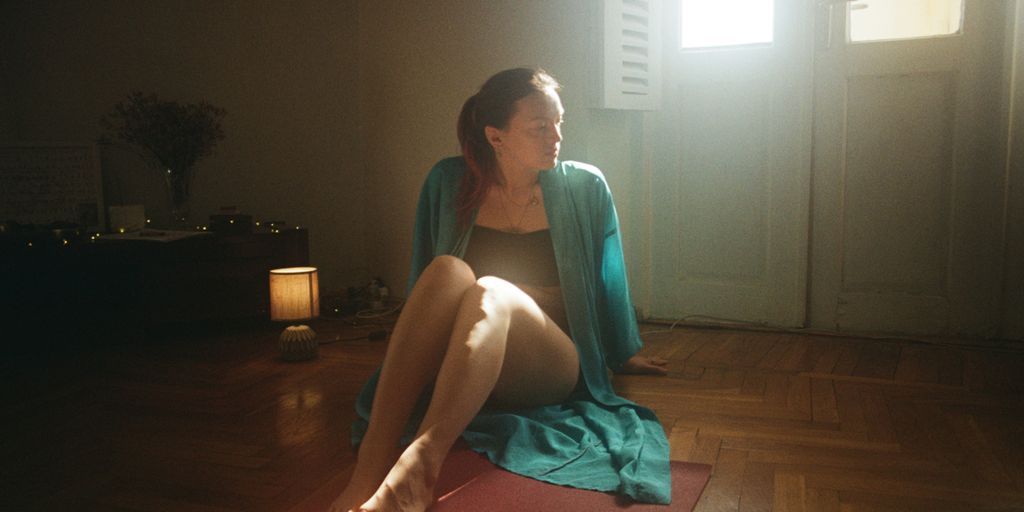
Mini Mindful Pauses
Sometimes, the best thing you can do is just pause. After a challenging sequence, take a moment to simply notice your breath. Don't try to change it or control it; just observe. Feel the rise and fall of your chest, the sensation of the air moving in and out of your nostrils. These mini pauses can be incredibly grounding, and they give you a chance to reset before moving on. Think of them as little breath breaks throughout your yoga sequences.
Taking a few moments to focus on your breath can significantly reduce stress and improve your overall sense of well-being. It's a simple yet powerful tool that you can use anytime, anywhere.
Cooling Down With Restorative Postures and Relaxation
Alright, we've powered through our 20-minute flow with Tim, and now it's time to bring things down a notch. Cooling down is super important; it helps your body transition from activity back to a resting state, preventing stiffness and promoting relaxation. Think of it as a gentle landing after a flight. We're going to focus on restorative postures that encourage release and relaxation. It's all about letting go of any remaining tension and soaking in the benefits of your practice.
Supine Spinal Twist
This is a fantastic pose for gently releasing tension in your spine and lower back. Lie on your back, draw your knees into your chest, and then extend your arms out to the sides. Let your knees fall to one side while keeping your shoulders grounded. Hold for a few breaths, then repeat on the other side. It's like giving your spine a little massage. I find it really helps to release any tightness I might have built up during the core work.
Happy Baby Hip Release
Happy Baby is one of my favorite poses for opening up the hips and groin. Lie on your back, bend your knees, and grab the outside edges of your feet (or your ankles or shins if that's more accessible). Gently rock from side to side, like a happy baby. This pose can feel really good if you've been doing a lot of standing poses. It's a great way to release tension in the hips and lower back. It's also just a fun pose, honestly.
Guided Savasana Relaxation
Savasana, or corpse pose, is the ultimate relaxation pose. Lie flat on your back with your arms at your sides, palms facing up. Close your eyes and focus on your breath. Let your body completely relax. You can use a guided meditation or simply focus on the sensations in your body. Savasana is where you really integrate the benefits of your practice. It's not just about lying there; it's about actively letting go of tension and allowing your body to rest. I like to set a timer for at least 5 minutes, but longer is always better. It's a great way to end your yoga practice and start your day feeling refreshed.
I often find myself rushing through Savasana, but I've learned that it's one of the most important parts of the practice. It's where your body and mind can truly integrate the benefits of the flow. Taking the time to fully relax and let go can make a huge difference in how you feel for the rest of the day.
## Conclusion
Alright, that’s the quick, head-to-toe yoga flow you can sneak into a packed morning. It's nothing fancy—just a handful of moves that wake you up without hogging your day. I’ve rolled it out before coffee and felt more awake than I expected. Tim’s chill voice makes it easy to follow, even before you’re fully awake. Give it a whirl tomorrow morning. Worst case, you stretch out. Best case, you kick off the day feeling alive. Either way, it's worth 20 minutes.
Frequently Asked Questions
Do I need any special gear for the 20-minute yoga flow?
Not really. A yoga mat is all you really need. If you have a block, strap or blanket, you can use those. But it still works fine without any extras.
Is this routine good for beginners?
Yes. The moves are explained clearly and go at a gentle pace. You can pause or skip anything that feels too hard. Just go at your own speed.
How often should I practice this flow?
You can do it every morning if you like. Even three or four times a week helps you build strength and stay flexible.
What if a pose feels too tough?
It’s okay to modify. Bend your knees, use your hands for support or skip any jump. Try an easier version until you feel ready to move on.
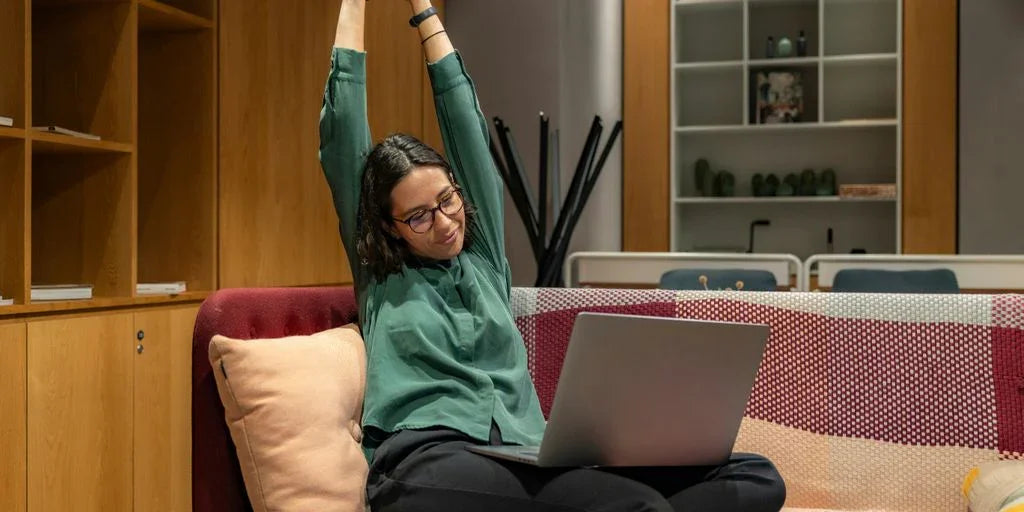
How will this quick flow help me during the day?
It wakes up your body and mind. You’ll feel looser in your muscles, stronger in your core and more ready to tackle the day.
Can I still do this if I have back pain?
Move slowly and listen to your body. Skip deep twists or forward bends. Focus on keeping your spine long. Check with a doctor before you start if you’re worried.