How to Make Your Own DIY Yoga Mat Cleaner at Home
Maintaining a clean yoga mat is essential for both hygiene and the longevity of the mat. While store-bought cleaners can be effective, making your own DIY yoga mat cleaner at home is a cost-effective, eco-friendly, and customizable option. This article will guide you through the benefits, ingredients, and steps to create your own cleaner, as well as tips for proper mat maintenance and safety.
Key Takeaways
- DIY yoga mat cleaners are cost-effective and environmentally friendly.
- Common ingredients include natural cleaning agents and essential oils.
- Making your own cleaner allows for customization in fragrance and disinfecting properties.
- Proper storage and cleaning techniques extend the life of your yoga mat.
- Always patch test your DIY cleaner to avoid harmful reactions.
Why You Need a DIY Yoga Mat Cleaner
Keeping your yoga mat clean is essential for maintaining hygiene and ensuring a pleasant practice experience. Using a DIY cleaner allows you to control the ingredients, ensuring that no harmful chemicals come into contact with your skin. This is particularly important for those who practice yoga frequently and want to avoid potential skin irritations.
Benefits of Using a DIY Cleaner
A DIY yoga mat cleaner offers several benefits. Firstly, it is cost-effective. You can make a cleaner using common household ingredients, which are often cheaper than store-bought options. Secondly, it is environmentally friendly. By using natural ingredients, you reduce the number of chemicals released into the environment. Lastly, a DIY cleaner can be customized to suit your preferences, such as adding essential oils for a pleasant fragrance.
Common Ingredients in DIY Cleaners
Most DIY yoga mat cleaners include natural cleaning agents like vinegar, baking soda, and lemon juice. These ingredients are effective at removing dirt and bacteria without the need for harsh chemicals. Essential oils, such as tea tree oil and lavender oil, are often added for their antibacterial properties and pleasant scents.
Store-Bought vs. DIY Cleaners
While store-bought cleaners are convenient, they often contain chemicals that can be harsh on your skin and the environment. In contrast, a DIY cleaner is made from natural ingredients, making it a safer and more eco-friendly option. Additionally, making your own cleaner can be a fun and rewarding process, giving you a sense of accomplishment and control over what you use on your yoga mat.
Learn how to clean a yoga mat and how often to do so. We show you an easy and chemical-free process for getting rid of bacteria and odors.
Essential Ingredients for Your DIY Yoga Mat Cleaner
Natural Cleaning Agents
When creating your own yoga mat cleaner, it's important to use natural cleaning agents. Vinegar is a popular choice due to its disinfectant properties. Another effective ingredient is baking soda, which helps to remove odors and stains. These ingredients are not only effective but also safe for your yoga mat and the environment.
Essential Oils for Fragrance and Disinfection
Adding essential oils to your DIY cleaner can enhance its effectiveness and provide a pleasant scent. Tea tree oil is known for its antibacterial properties, while lavender oil offers a calming fragrance. A few drops of eucalyptus oil can also be added for its refreshing scent and disinfectant qualities.
Where to Source Ingredients
You can easily find these ingredients at your local grocery store or health food store. For a more eco-friendly option, consider purchasing from stores that offer bulk buying to reduce packaging waste. Online retailers also offer a wide variety of natural cleaning agents and essential oils, making it convenient to gather everything you need to cleanse your mind and body with a DIY yoga mat cleaner.
Using natural ingredients not only ensures a safer cleaning process but also contributes to a more sustainable lifestyle.
Step-by-Step Guide to Making Your DIY Yoga Mat Cleaner
Gathering Your Materials
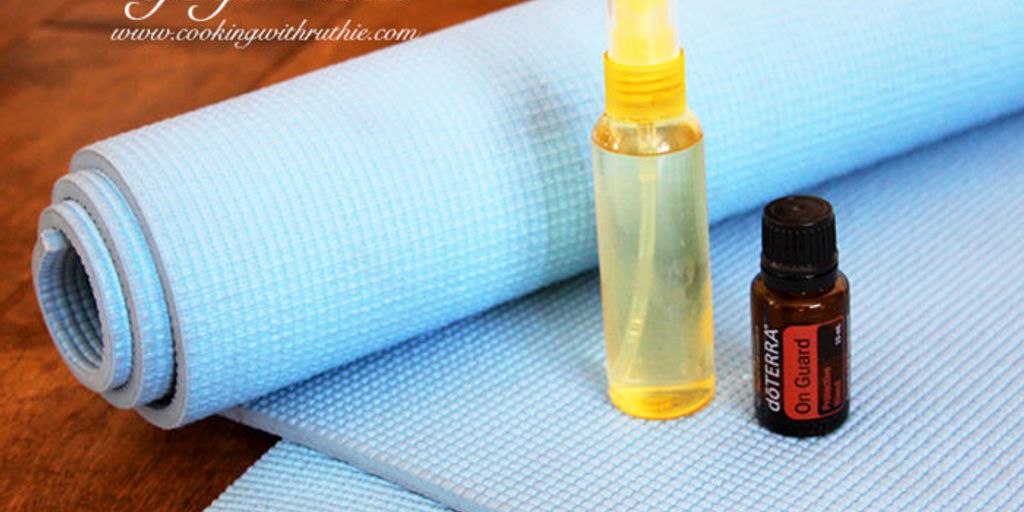
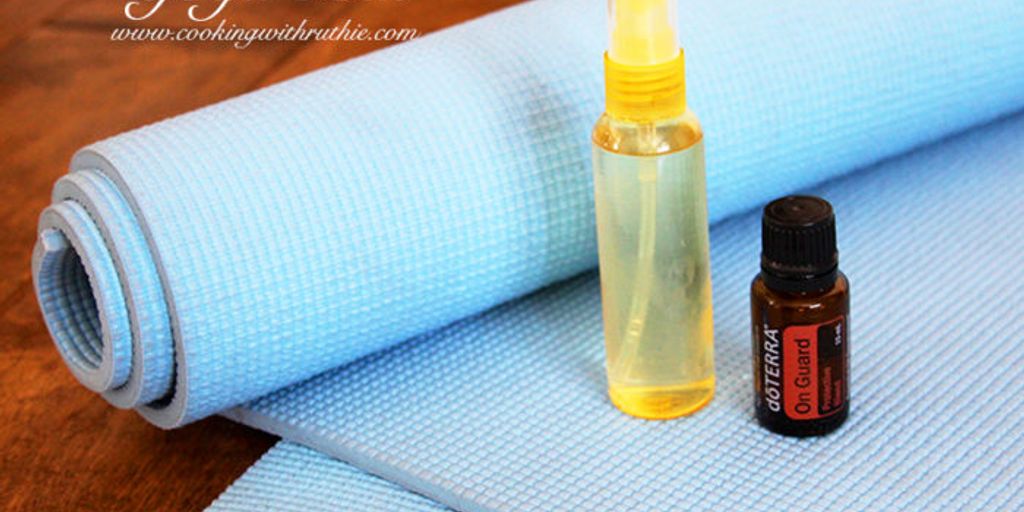
To start, you'll need to gather all the necessary materials. Creating your own yoga mat spray is a simple and effective way to keep your mat fresh and clean. Start with a base of distilled water to ensure there are no impurities. You'll also need a spray bottle, natural cleaning agents, and essential oils.
Mixing the Ingredients
Once you have all your materials, it's time to mix the ingredients. Combine distilled water with your chosen natural cleaning agents and a few drops of essential oils for fragrance and disinfection. Shake well to ensure everything is thoroughly mixed.
Proper Storage Tips
Proper storage is crucial to maintain the effectiveness of your DIY cleaner. Store your cleaner in a cool, dark place to preserve the essential oils and prevent any degradation. Make sure the spray bottle is tightly sealed to avoid any leaks or spills.
Remember, a well-maintained yoga mat not only enhances your practice but also ensures a hygienic environment.
How to Properly Clean Your Yoga Mat
Pre-Cleaning Preparation
Before you start cleaning, it's essential to gather all necessary materials. Ensure you have a clean cloth, a spray bottle, and your DIY cleaner. Lay your mat flat on a clean surface to avoid transferring dirt.
Cleaning Techniques
- Spray your DIY cleaner evenly across the mat's surface.
- Use a clean cloth to gently scrub the mat in circular motions.
- For stubborn spots, let the cleaner sit for a few minutes before wiping.
- Flip the mat and repeat the process on the other side.
Drying and Maintenance
After cleaning, it's crucial to dry your mat properly. Roll it up with a dry towel to absorb excess moisture. Unroll and hang it in a well-ventilated area to air dry completely. Regular maintenance includes wiping down your mat after each use to prevent buildup.
Consistent cleaning not only extends the life of your yoga mat but also ensures a hygienic practice environment.
Safety Tips for Using DIY Yoga Mat Cleaners
Patch Testing Your Cleaner
Before using any new cleaner on your yoga mat, it's crucial to perform a patch test. Apply a small amount of the cleaner to a discreet area of the mat and wait 24 hours to ensure there are no adverse reactions. This step helps you avoid potential damage to your mat and ensures the cleaner is safe for regular use.
Avoiding Harmful Reactions
When making your own cleaner, be mindful of the ingredients you use. Avoid mixing chemicals that can cause harmful reactions. For instance, combining vinegar and hydrogen peroxide can create peracetic acid, which is dangerous. Stick to natural ingredients like essential oils and mild soaps to keep your cleaner safe and effective.
Safe Storage Practices
Proper storage of your DIY yoga mat cleaner is essential for maintaining its effectiveness and safety. Store the cleaner in a cool, dark place, away from direct sunlight and heat sources. Use a spray bottle with a secure lid to prevent leaks and spills. Label the bottle clearly with the contents and date of preparation to keep track of its shelf life.
Remember, how clean is your yoga mat? Regular cleaning with a safe and effective DIY cleaner can prolong its life and keep it hygienic for your practice.
Eco-Friendly Practices for Cleaning Your Yoga Mat
Choosing Sustainable Ingredients
When making your DIY yoga mat cleaner, opt for sustainable ingredients like vinegar, baking soda, and essential oils. These natural components are not only effective but also environmentally friendly. Avoid chemicals that can harm both your mat and the planet.
Reducing Waste
To minimize waste, consider using reusable spray bottles and cloths. This small change can significantly reduce the amount of single-use plastics and paper towels you consume. Additionally, buy ingredients in bulk to cut down on packaging waste.
Eco-Friendly Storage Solutions
Store your DIY cleaner in glass or BPA-free plastic containers to ensure longevity and reduce environmental impact. Label your containers clearly to avoid confusion and ensure safe usage. Proper storage not only extends the life of your cleaner but also aligns with eco-friendly practices.
Making small, conscious choices in your cleaning routine can have a big impact on the environment. Choose wisely and clean responsibly.
Maintaining an eco-friendly yoga practice starts with how you care for your mat. Discover sustainable cleaning methods that are gentle on both your mat and the environment. For more tips and to explore our range of eco-friendly yoga mats, visit our website.
Conclusion
Creating your own DIY yoga mat cleaner at home is a simple, cost-effective, and eco-friendly solution to keep your mat fresh and clean. With just a few natural ingredients, you can ensure that your yoga practice remains hygienic and free from harmful chemicals. By following the steps outlined in this article, you'll be able to maintain your mat's longevity and enhance your overall yoga experience. So, gather your ingredients, mix up your cleaner, and enjoy a cleaner, healthier yoga practice!
Frequently Asked Questions
Can I use vinegar to clean my yoga mat?
Yes, vinegar is a common ingredient in DIY yoga mat cleaners due to its natural disinfectant properties. However, it should be diluted with water to avoid damaging the mat.
How often should I clean my yoga mat?
It's recommended to clean your yoga mat after every use to maintain hygiene and extend its lifespan. At the very least, aim for a thorough cleaning once a week.
Can I add essential oils to my DIY yoga mat cleaner?
Absolutely! Essential oils like tea tree, lavender, and eucalyptus not only add a pleasant fragrance but also have natural antibacterial and antifungal properties.
What should I do if my yoga mat becomes slippery after cleaning?
If your mat becomes slippery, it could be due to residue from the cleaner. Rinse the mat with water and let it dry completely before using it again.
Is it safe to use alcohol in my DIY yoga mat cleaner?
While alcohol can be an effective disinfectant, it may dry out or damage some types of yoga mats. It's best to use milder, natural ingredients unless you are sure your mat can handle it.
How should I store my DIY yoga mat cleaner?
Store your DIY yoga mat cleaner in a spray bottle in a cool, dark place. Make sure to label the bottle with the date it was made and the ingredients used.


