DIY Yoga Mat Cleaner: How to Make Your Own at Home
Maintaining a clean yoga mat is crucial for both hygiene and performance. While store-bought cleaners are an option, making your own DIY yoga mat cleaner at home can be more cost-effective, environmentally friendly, and customizable to your preferences. In this guide, we'll explore the benefits of creating your own cleaner, the essential ingredients you'll need, and a step-by-step process to ensure your yoga mat stays fresh and germ-free.
Key Takeaways
- DIY yoga mat cleaners are cost-effective and customizable.
- Homemade cleaners often use natural ingredients, making them safer for the environment.
- Essential oils can be added for fragrance and additional cleaning properties.
- Proper storage of your DIY cleaner ensures its effectiveness over time.
- Regular cleaning and maintenance extend the life of your yoga mat.
Why You Need a DIY Yoga Mat Cleaner
Regularly cleaning your yoga mat with natural DIY cleaners is essential for hygiene and performance. A homemade cleaner offers numerous benefits, including cost savings and the ability to customize the ingredients to suit your needs. Store-bought cleaners often contain harsh chemicals that can be harmful to both your mat and your health. Additionally, making your own cleaner is an environmentally friendly choice, reducing plastic waste and the carbon footprint associated with commercial products.
Essential Ingredients for a DIY Yoga Mat Cleaner
Creating your own yoga mat cleaner at home is not only cost-effective but also allows you to control the ingredients, ensuring they are safe and eco-friendly. Below are the essential components you'll need to get started.
Natural Cleaning Agents
Natural cleaning agents are the backbone of any DIY cleaner. White vinegar and baking soda are popular choices due to their effective cleaning properties. Vinegar acts as a disinfectant, while baking soda helps to remove odors and stains.
Essential Oils for Fragrance
Adding essential oils not only gives your cleaner a pleasant scent but also provides additional antibacterial properties. Tea tree oil and lavender oil are excellent options. Just a few drops can make a significant difference.
Where to Source Ingredients
You can find most of these ingredients at your local grocery store or health food store. For a more extensive selection of essential oils, consider visiting a specialty shop or purchasing online.
Making your own yoga mat cleaner is a simple yet impactful way to maintain your mat and contribute to a healthier environment.
Step-by-Step Guide to Making Your Own Yoga Mat Cleaner
Gathering Your Materials
Before you start, make sure you have all the necessary materials. You'll need a spray bottle, distilled water, white vinegar, and essential oils of your choice. Having everything ready will make the process smoother.
Mixing the Ingredients
In a clean container, combine one part white vinegar with three parts distilled water. Add a few drops of essential oil for fragrance. Mix well to ensure all ingredients are thoroughly combined. This mixture will serve as your natural cleaning solution.
Proper Storage
Transfer your homemade cleaner into a spray bottle for easy application. Store it in a cool, dark place to maintain its effectiveness. Proper storage is crucial for the longevity of your cleaner.
For more tips on deep cleaning and maintaining your yoga mat, check out our guide.
How to Properly Clean Your Yoga Mat
Pre-Cleaning Preparation
Before you start cleaning, make sure to remove any loose dirt or debris from your yoga mat. This step ensures that the cleaning solution can work more effectively. You can do this by shaking the mat or using a soft brush.
Application Techniques
To disinfect your yoga mat, mix a few drops of dishwashing or laundry soap with water in a spray bottle. Spray the solution evenly across the mat's surface. Use a clean cloth to wipe down the mat, ensuring you cover all areas. For stubborn spots, a gentle scrub with a soft brush can help.
Drying and Maintenance Tips
After cleaning, it's crucial to let your yoga mat dry completely before rolling it up. Lay it flat in a well-ventilated area, away from direct sunlight. This helps prevent mold and mildew growth. Regular maintenance, such as wiping down your mat after each use, can extend its lifespan.
Proper cleaning and maintenance of your yoga mat not only prolongs its life but also ensures a hygienic practice environment.
Safety Tips for Using a DIY Yoga Mat Cleaner
Patch Testing
Before using your homemade cleaner on the entire mat, it's crucial to perform a patch test. Apply a small amount of the cleaner to a discreet area of the mat and wait 24 hours to ensure there are no adverse reactions. This step helps you avoid potential damage to your mat's material.
Avoiding Harmful Combinations
When mixing ingredients, be cautious of combining substances that could create harmful reactions. For instance, never mix vinegar with hydrogen peroxide, as this can produce a dangerous gas. Always research the compatibility of your ingredients to ensure safety.
Storage Precautions
Proper storage of your DIY cleaner is essential for maintaining its effectiveness and safety. Store the cleaner in a cool, dark place, away from direct sunlight and out of reach of children and pets. Use a clearly labeled, airtight container to prevent any accidental misuse.
Regular cleaning is important for both hygiene and the longevity of your yoga mat. Following these safety tips will help you keep your mat fresh and in good condition.
Eco-Friendly Practices for Yoga Mat Maintenance
Maintaining your yoga mat in an eco-friendly manner is essential for both your health and the environment. Choosing eco-friendly options like natural rubber mats not only provides excellent grip but also supports sustainability. To keep your mat in top condition, it's best to clean it with mild soap and avoid harsh chemicals that can damage the material and harm the planet.
Sustainable Cleaning Methods
Using natural cleaning agents such as vinegar and baking soda can effectively clean your mat without introducing harmful substances. These ingredients are not only safe for your mat but also for the environment.
Recycling and Disposal
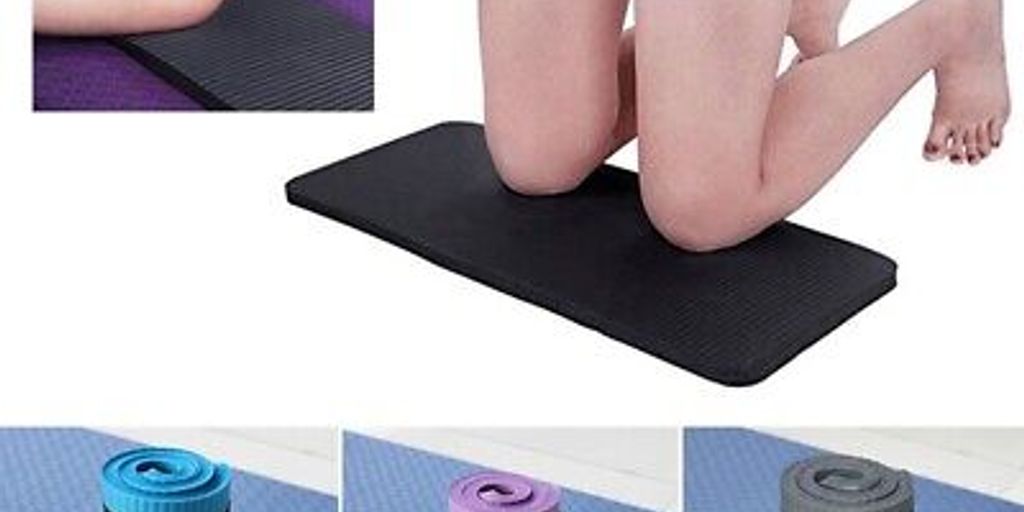
When it's time to replace your yoga mat, consider recycling it. Many communities offer recycling programs for yoga mats, or you can repurpose it for other uses around the house, such as padding for kneeling during gardening.
Long-Term Care
To extend the life of your yoga mat, store it in a cool, dry place and avoid exposing it to direct sunlight for prolonged periods. Regular cleaning and proper storage will help maintain its quality and performance over time.
By adopting these eco-friendly practices, you can find balance on the best non-slip yoga mat while contributing to a healthier planet.
Frequently Asked Questions About DIY Yoga Mat Cleaners
Effectiveness Compared to Store-Bought
Many people wonder if a DIY yoga mat cleaner can be as effective as store-bought options. The answer is yes. When made with the right ingredients, homemade cleaners can effectively remove dirt, sweat, and bacteria from your mat. Plus, they often avoid the harsh chemicals found in commercial products.
Shelf Life and Storage
A common concern is how long a DIY cleaner will last. Typically, a homemade yoga mat cleaner can last up to a month if stored properly. It's best to keep it in a cool, dark place to maintain its effectiveness.
Customization Options
One of the biggest advantages of making your own yoga mat cleaner is the ability to customize it. You can choose your favorite essential oils for fragrance and even add ingredients that cater to your specific needs, such as extra moisturizing agents for dry skin.
Making your own cleaner not only saves money but also allows you to tailor it to your preferences, ensuring a more enjoyable and personalized yoga experience.
Have questions about DIY yoga mat cleaners? We've got you covered! Visit our website to explore our comprehensive FAQ section and discover the best tips and tricks for keeping your yoga mat in top condition. Don't miss out on our exclusive offers and high-quality yoga products designed to enhance your practice.
Conclusion
Creating your own DIY yoga mat cleaner at home is not only cost-effective but also allows you to control the ingredients, ensuring a natural and safe cleaning solution. By following the simple steps outlined in this article, you can maintain a clean and hygienic yoga mat, enhancing your overall yoga experience. Remember, regular cleaning not only extends the life of your mat but also promotes better health and well-being. So, gather your ingredients and start making your personalized yoga mat cleaner today!
Frequently Asked Questions About DIY Yoga Mat Cleaners
How effective are DIY yoga mat cleaners compared to store-bought options?
DIY yoga mat cleaners can be just as effective as store-bought options when made with the right ingredients. They can effectively remove dirt, sweat, and bacteria from your mat.
What is the shelf life of a homemade yoga mat cleaner?
The shelf life of a homemade yoga mat cleaner depends on the ingredients used. Generally, a cleaner made with natural ingredients can last up to a month if stored properly.
Can I customize the fragrance of my DIY yoga mat cleaner?
Yes, you can easily customize the fragrance of your DIY yoga mat cleaner by adding your favorite essential oils. Popular options include lavender, tea tree, and eucalyptus oils.
Is it safe to use a DIY yoga mat cleaner on all types of mats?
Most DIY yoga mat cleaners are safe for a variety of mat materials, but it's always best to do a patch test on a small area first to ensure there are no adverse reactions.
How often should I clean my yoga mat with a DIY cleaner?
It's recommended to clean your yoga mat with a DIY cleaner after every few uses, or at least once a week, to maintain hygiene and extend the life of your mat.
What should I avoid when making a DIY yoga mat cleaner?
Avoid using harsh chemicals or abrasive ingredients that could damage your mat. Stick to natural cleaning agents and essential oils to ensure the longevity and safety of your yoga mat.


